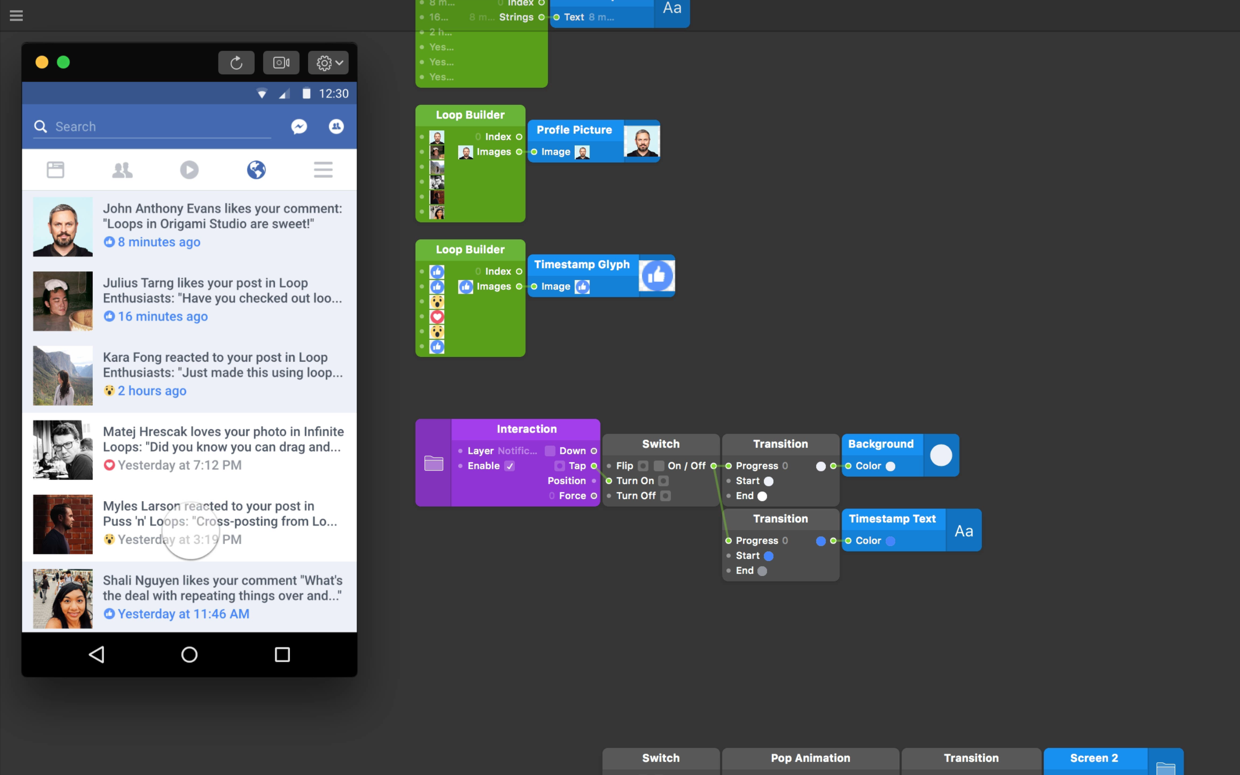
Looped items in Origami are able to have interaction applied to them like any other layer in Origami would. In this Facebook Notifications prototype, we have applied a Color property Switch to each looped item. We have also selected one special instance in this loop to have a page transition trigger.
If you have been through Introduction to Loops there is only one more patch you need to know. Download the starting tutorial files to follow along as we rebuild this prototype.
Global interactions
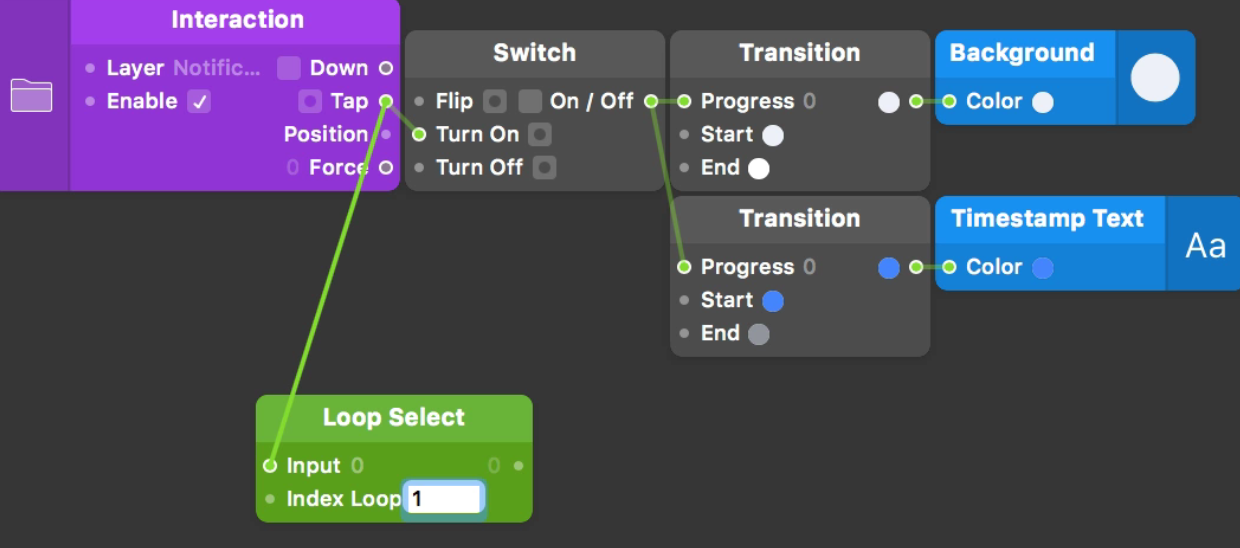
You might notice from our tutorial files that we are picking up from Introduction to Loops, with the addition of a few standard interactions. These include a Tap on a Notification instance which turns on a Switch. This Switch flips the Background layer Color property from a blue to a white fill. It also changes the Timestamp Text Color from light blue to grey.
Item-specific interaction
This is useful because we need it for every single one of our looped items, but what if we only wanted one of these Notification instances to change? For example, what if we had a specific screen for each of these Notification instances to animate to, individually?
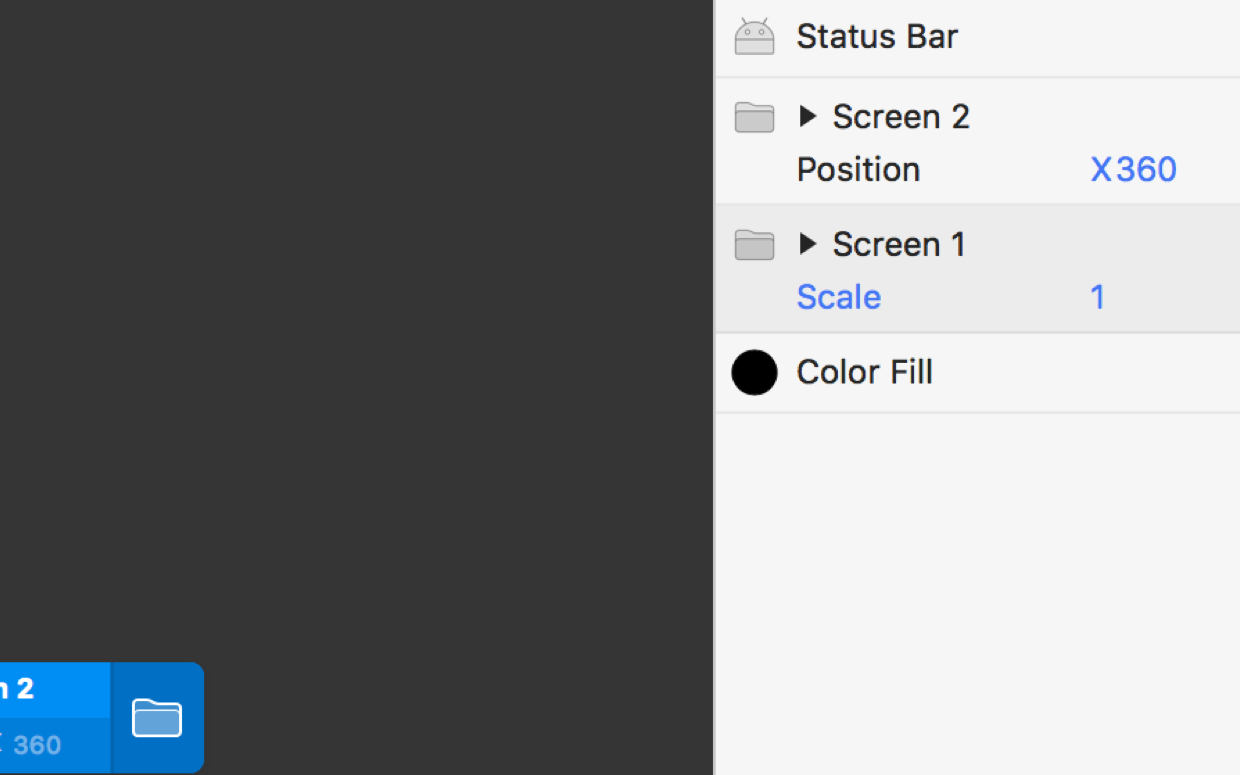
For this reason we have included a second screen; Screen 2. We want to transition to Screen 2 only when we Tap on the second instance of Notification.
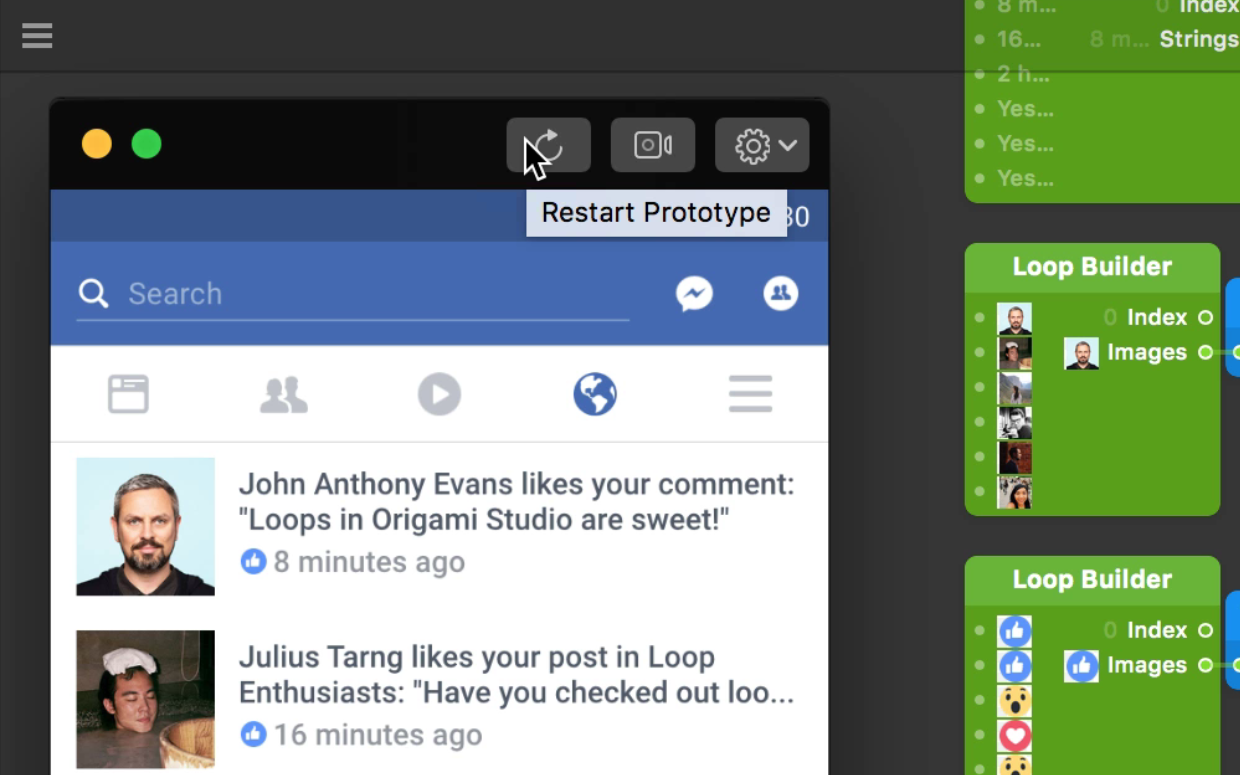
You may have tapped on a few notifications in the Viewer at this point. Use the Restart Prototype button on Viewer toolbar to begin properly.
Loop Select patch
To only select one specific instance of Notification, we need to use a Loop Select patch. Add a Loop Select patch to the Patch Editor ⌘⏎.
We want to listen for the second instance of Notification receiving a Tap. Connect the Tap output from the Notification Interaction patch to the first input of the Loop Select patch.
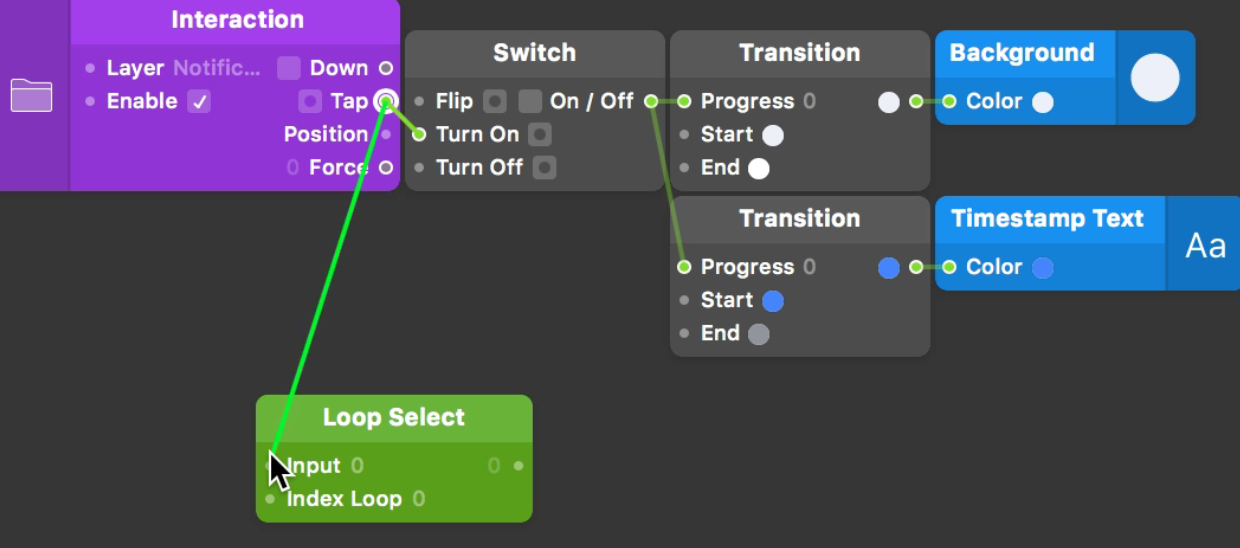
Since loops and indexes always start from 0, the second item is 1. In the Index Loop input, type 1.
1 in the Index Loop input to select the second instance of Notification.
We can now connect the output of the Loop Select to Turn On the Screen Switch.
, not Flip.](/public/images/tutorials/interactive-loops/loop-select-switch.png)
You might notice that if we Tap the second notification, and only on the second notification, it will take us to Screen 2.
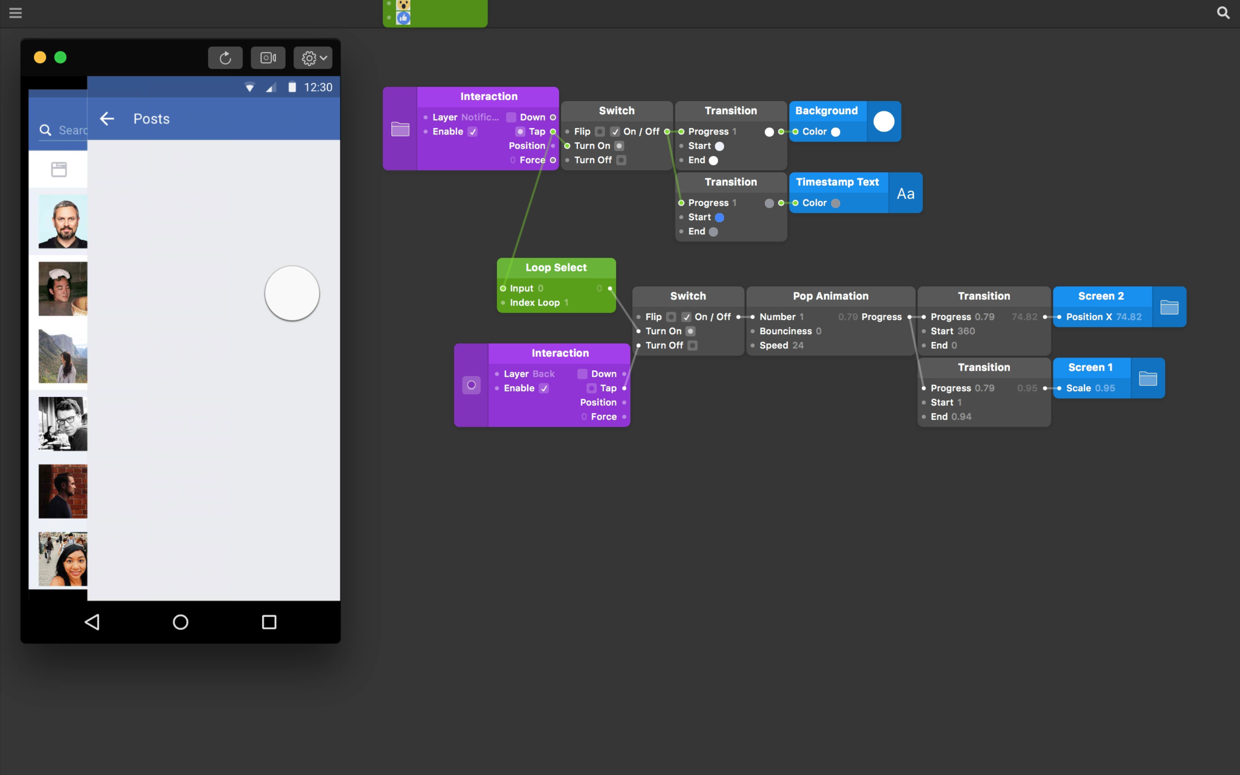
The second instance of Notification is index 1. Since 1 is the value being selected in the Loop Select patch, this will Turn On the Switch and trigger the animation that transitions to Screen 2.