Masking in Origami is a lot like other design tools, with the added bonus of being able to use masks to create advanced interactions and animations. We are going to prototype Messenger photo radius changes, which occur on lightbox open and close. If you haven’t already, download the tutorial files.
Setting up
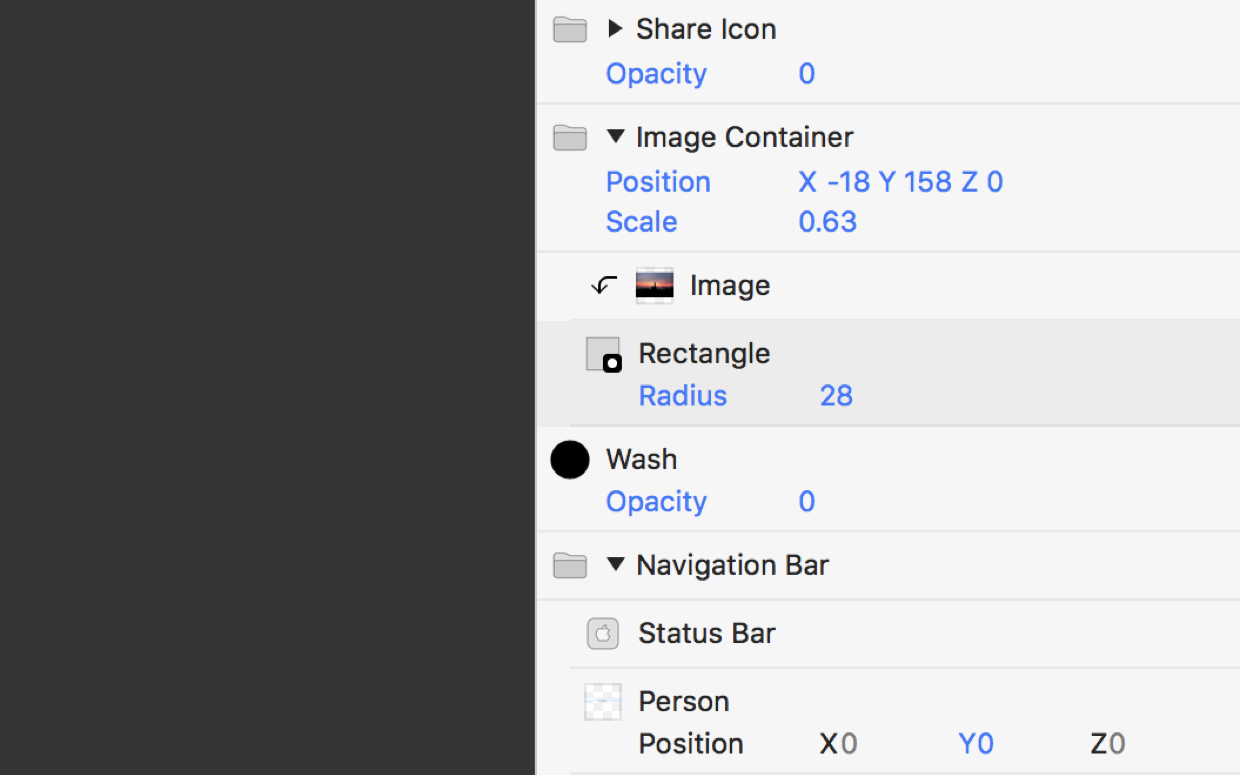
We have already set up Image Container to change its Scale and Position properties to turn into a lightbox on Tap. The last thing we need to do is set a change in rounded-corners on Image itself. The Image needs a Radius of 28 when within-conversation, but a Radius of 0 (no Radius) when expanded to a lightbox.
 should have rounded corners within the conversation thread.](/public/images/tutorials/masking-layers/no-border.png)
Preparing a mask layer
Image layers do not have a Radius property. To create a radius on the Image layer, we will need to use as layer type that does have a Radius property and use that as a mask.
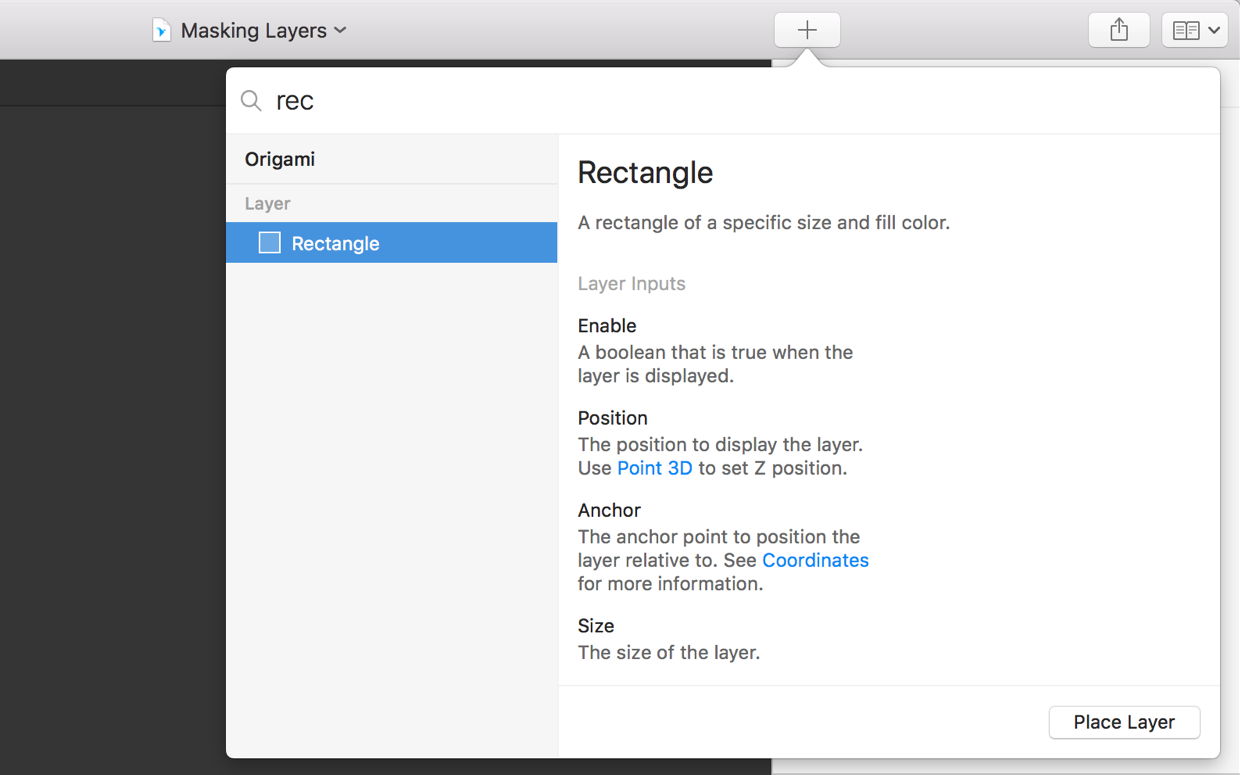
Rectangle is a layer type that does have a Radius property. Click the New Layer button and type to find Rectangle. Press Return ⏎ once it appears.
Place the new Rectangle layer in the same Group as Image, below the image itself. This is because our Image layer will be masked onto the Rectangle.
Creating a mask
To mask Image, we need to select the layer we want to use as a mask (Rectangle) then navigate to Layer > Use as Mask ⌥⌘M.
 layer selected.](/public/images/tutorials/masking-layers/use-as-mask.png)
Editing a mask
Image, directly above the Rectangle, is now masked to the shape of Rectangle. Changing any of the Rectangle properties will visually reflect on Image too.
Change the Rectangle Size and Position properties to match Image, since would like them to be the same. The Size property of Image is 375 by 250. Our desired Radius is 28.
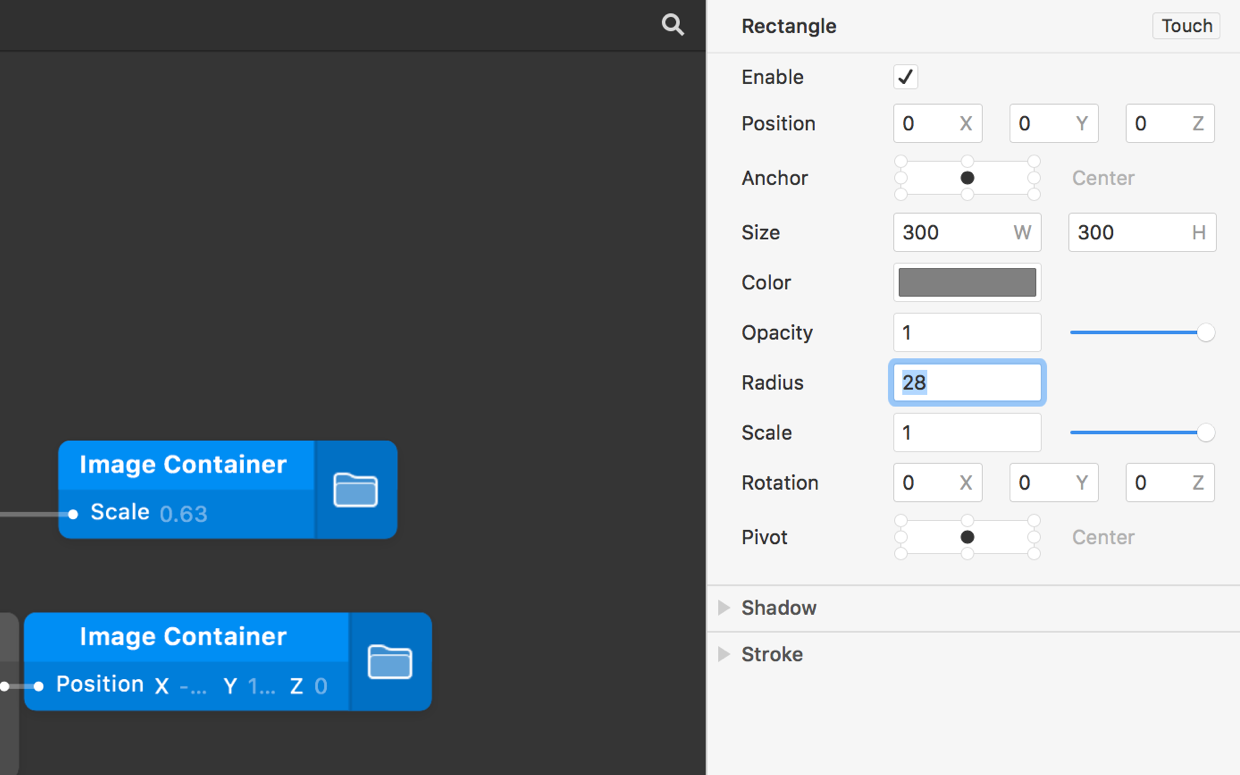
0.
Transitioning with a mask
We would like the Radius to change to 0 when Image is receives a Tap and transitions to a lightbox. A Transition patch has already been prepared in the Patch Editor, so that the animation begins at 28 and ends at 0.
 patch has values already added.](/public/images/tutorials/masking-layers/preset-transition.png)
The last step is to connect the Transition patch output to the Radius property of the Rectangle. Go ahead and connect this. The Radius of mask now changes, which in turn changes the Image layer masked to this.
 output to the Radius property by clicking and dragging to the Layers panel.](/public/images/tutorials/masking-layers/transition-radius-connection.png)
If your prototype does not work properly, double-check the order of your layers, and make sure you have your Rectangle used as the mask. Inspect the Layers panel to see which layers and masks are affecting each other, indicated by symbols.