Create and share a library of layer and patch components with your team and keep everyone up to date by using an Origami System.
In this tutorial, we’ll walk through the steps to create an Origami System by adding components to a System Maker. We’ll then show how to publish the system and share it with others.
If you haven’t already, review the Create a Component tutorial before starting this one. Download the tutorial starter assets to follow along as we build an Origami System.
Creating a System
In order to distribute components with an Origami System, we first need to create a System Maker. Here you’ll be able to add and manage components, set relevant information and publish updates.
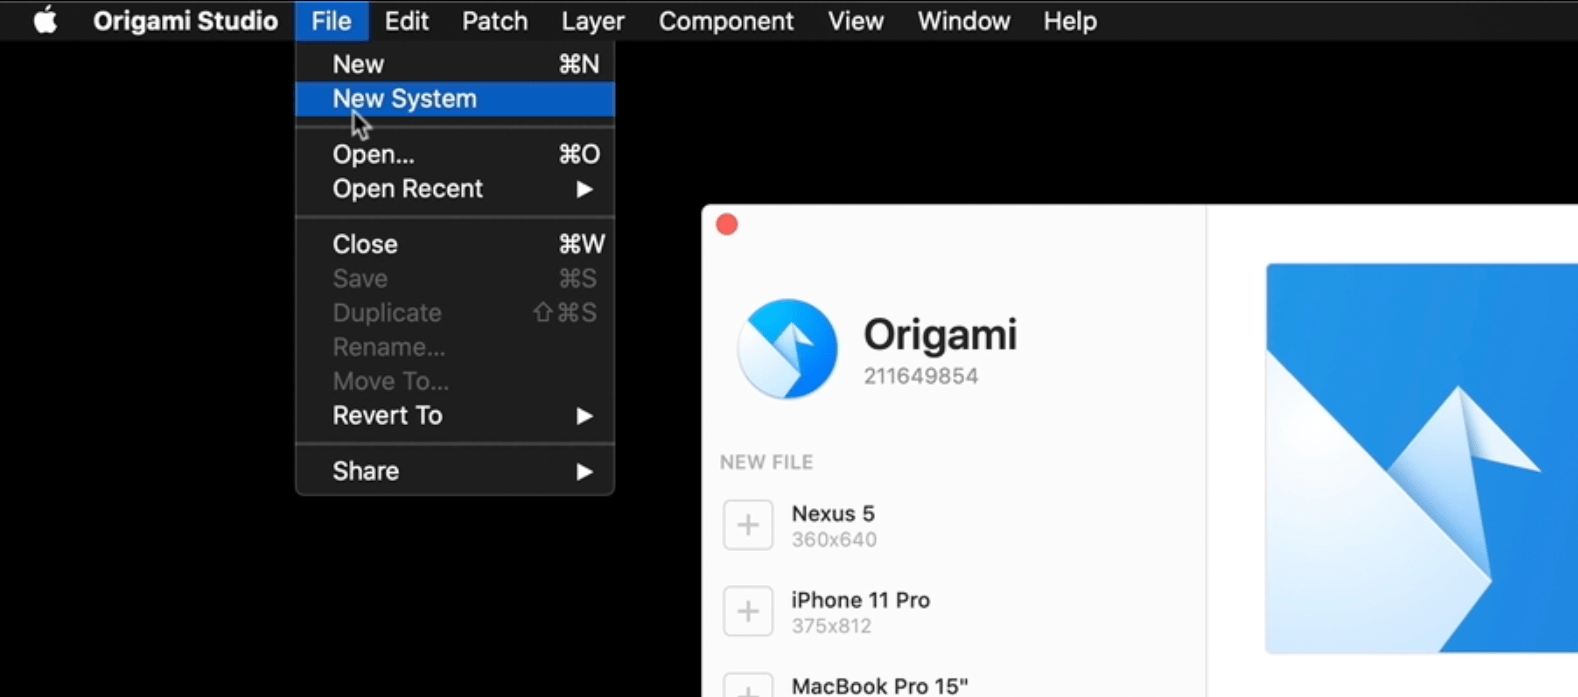
Let’s start by opening Origami Studio, selecting File from the top menu and clicking New System. This will open a file system window.
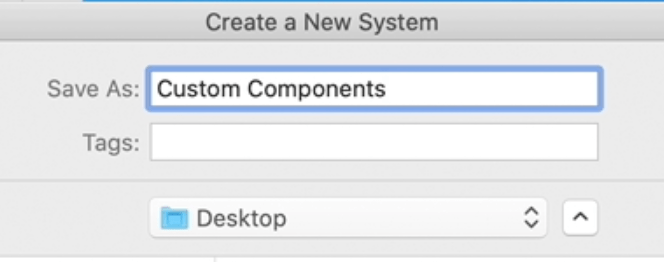
For this example, let’s name our System Crane Studios and save to the desktop.
This will create a new folder on the desktop, where we save Origami documents containing our components and an .origami-system-maker file.
System Information
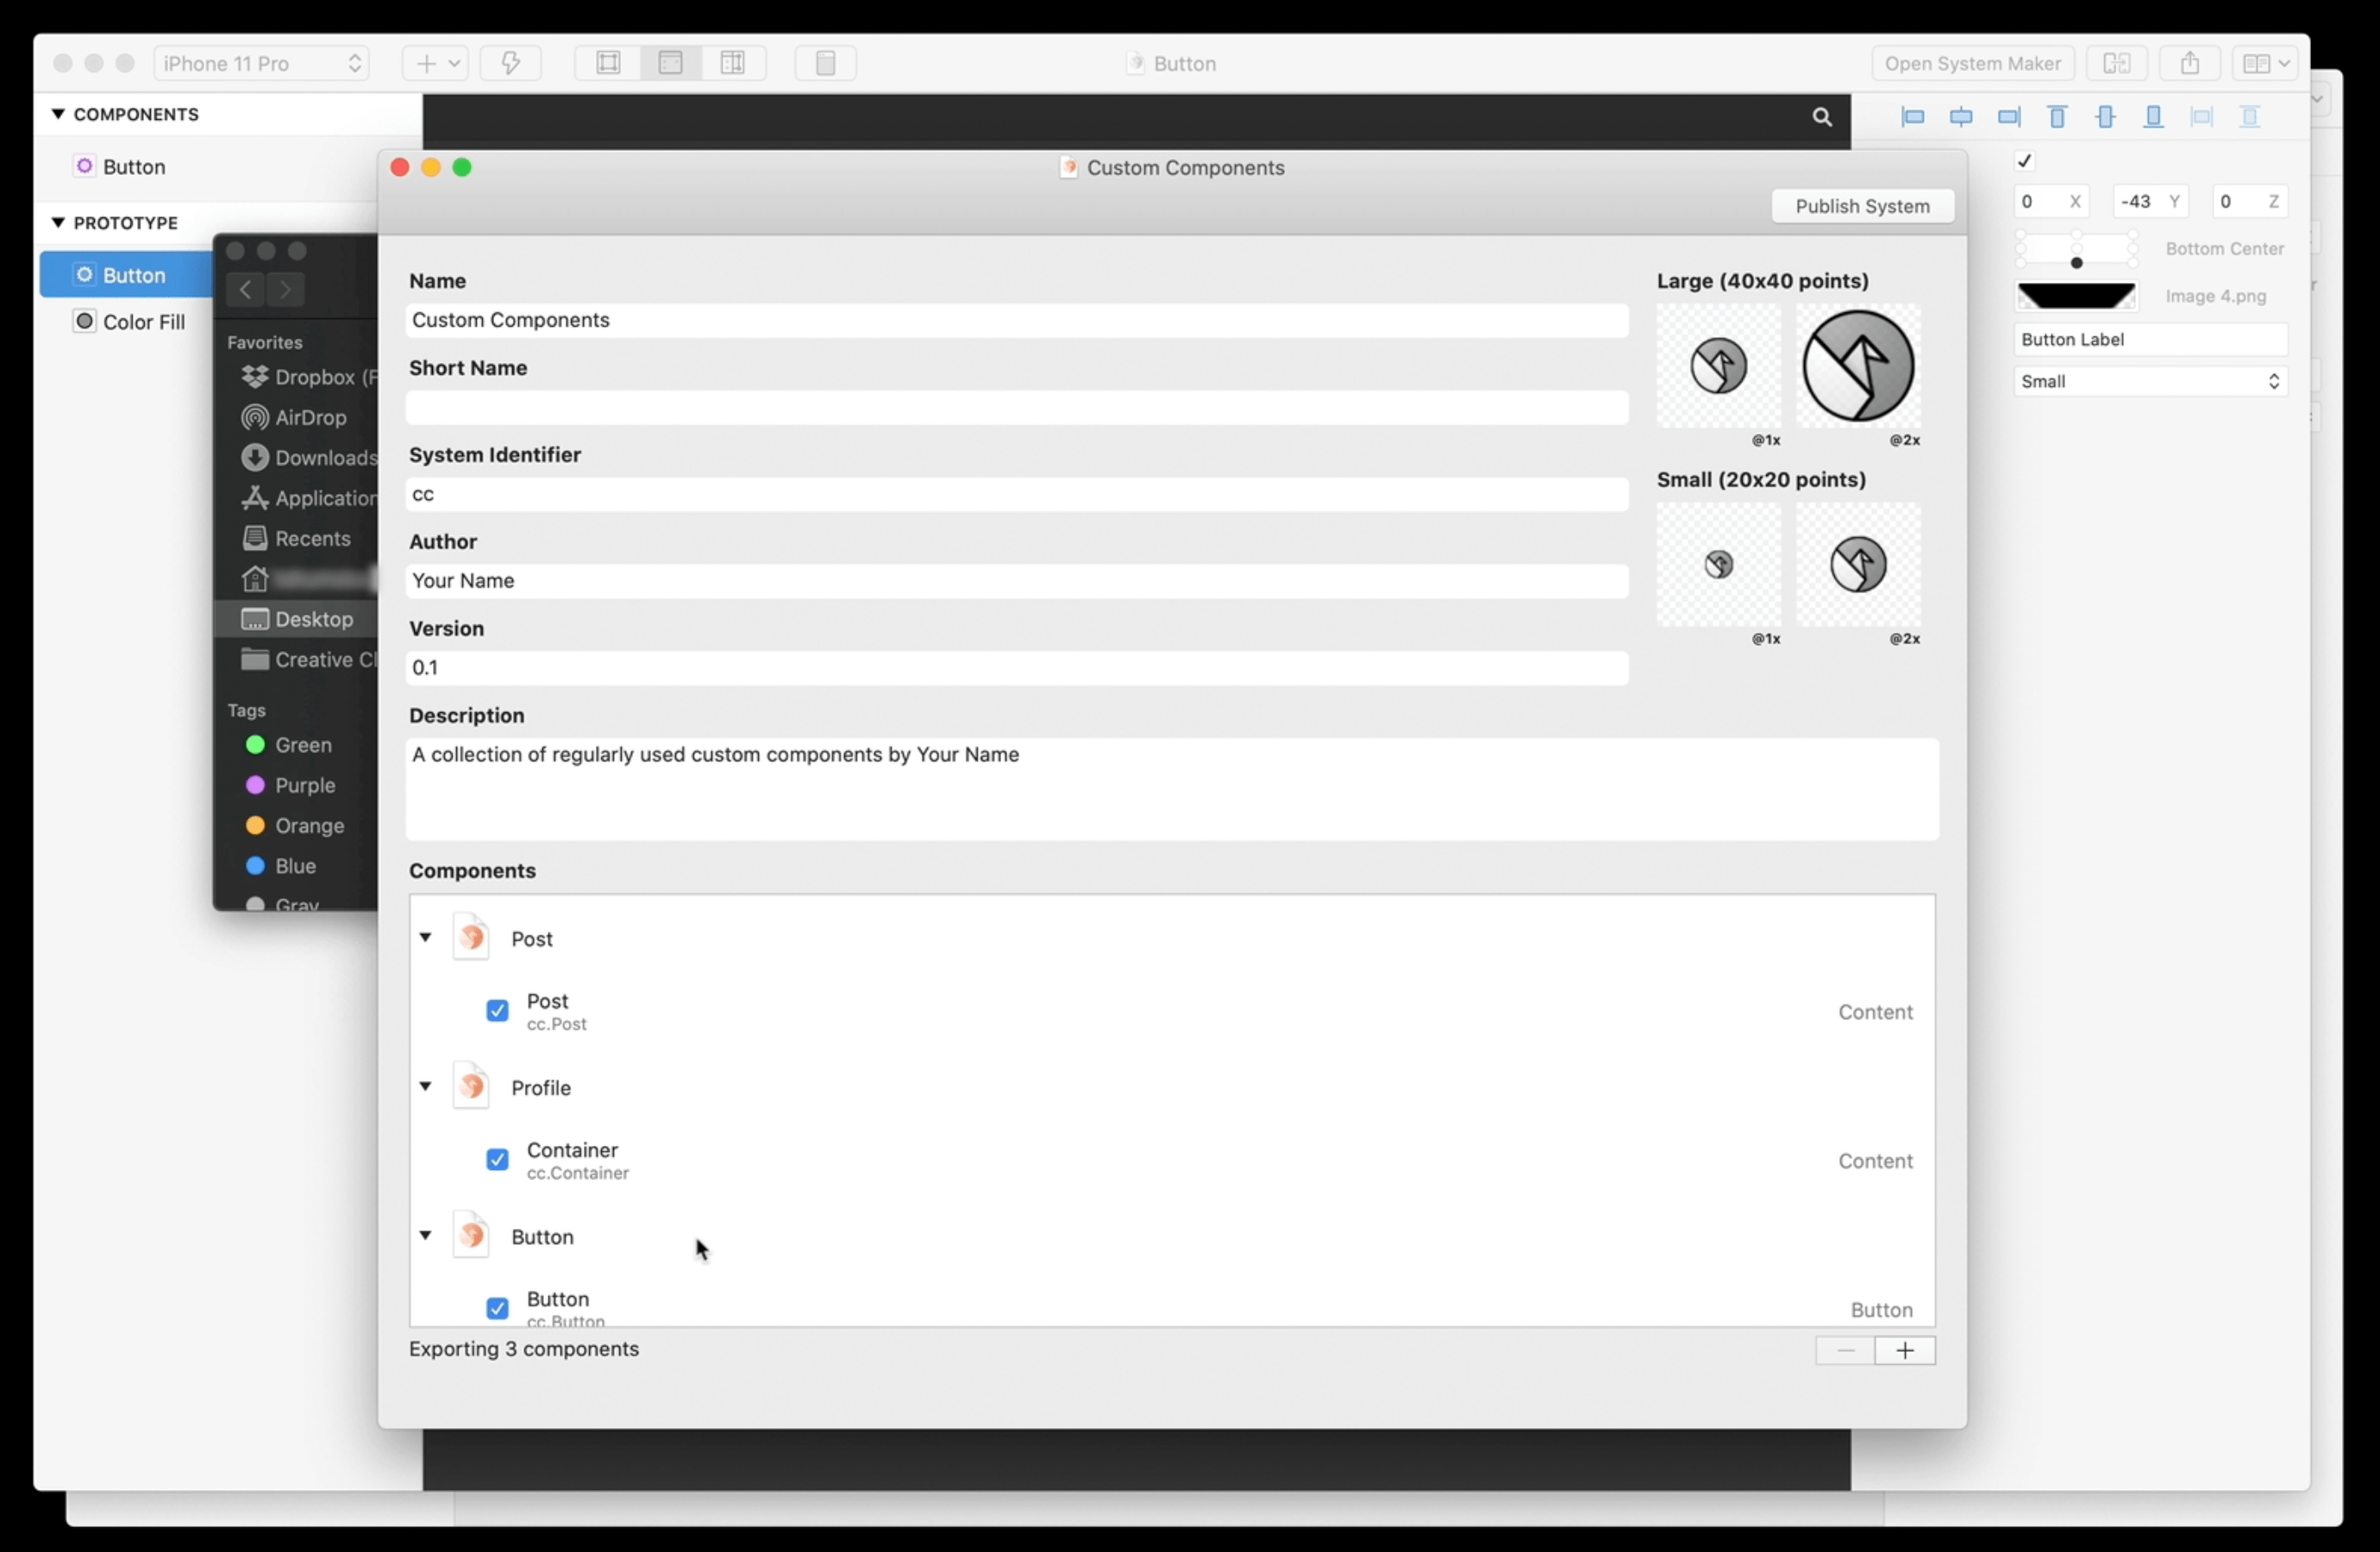
After saving, you’ll see the System Maker window appear. Here we’ll enter meta information for the System such as its name, description and its icon.
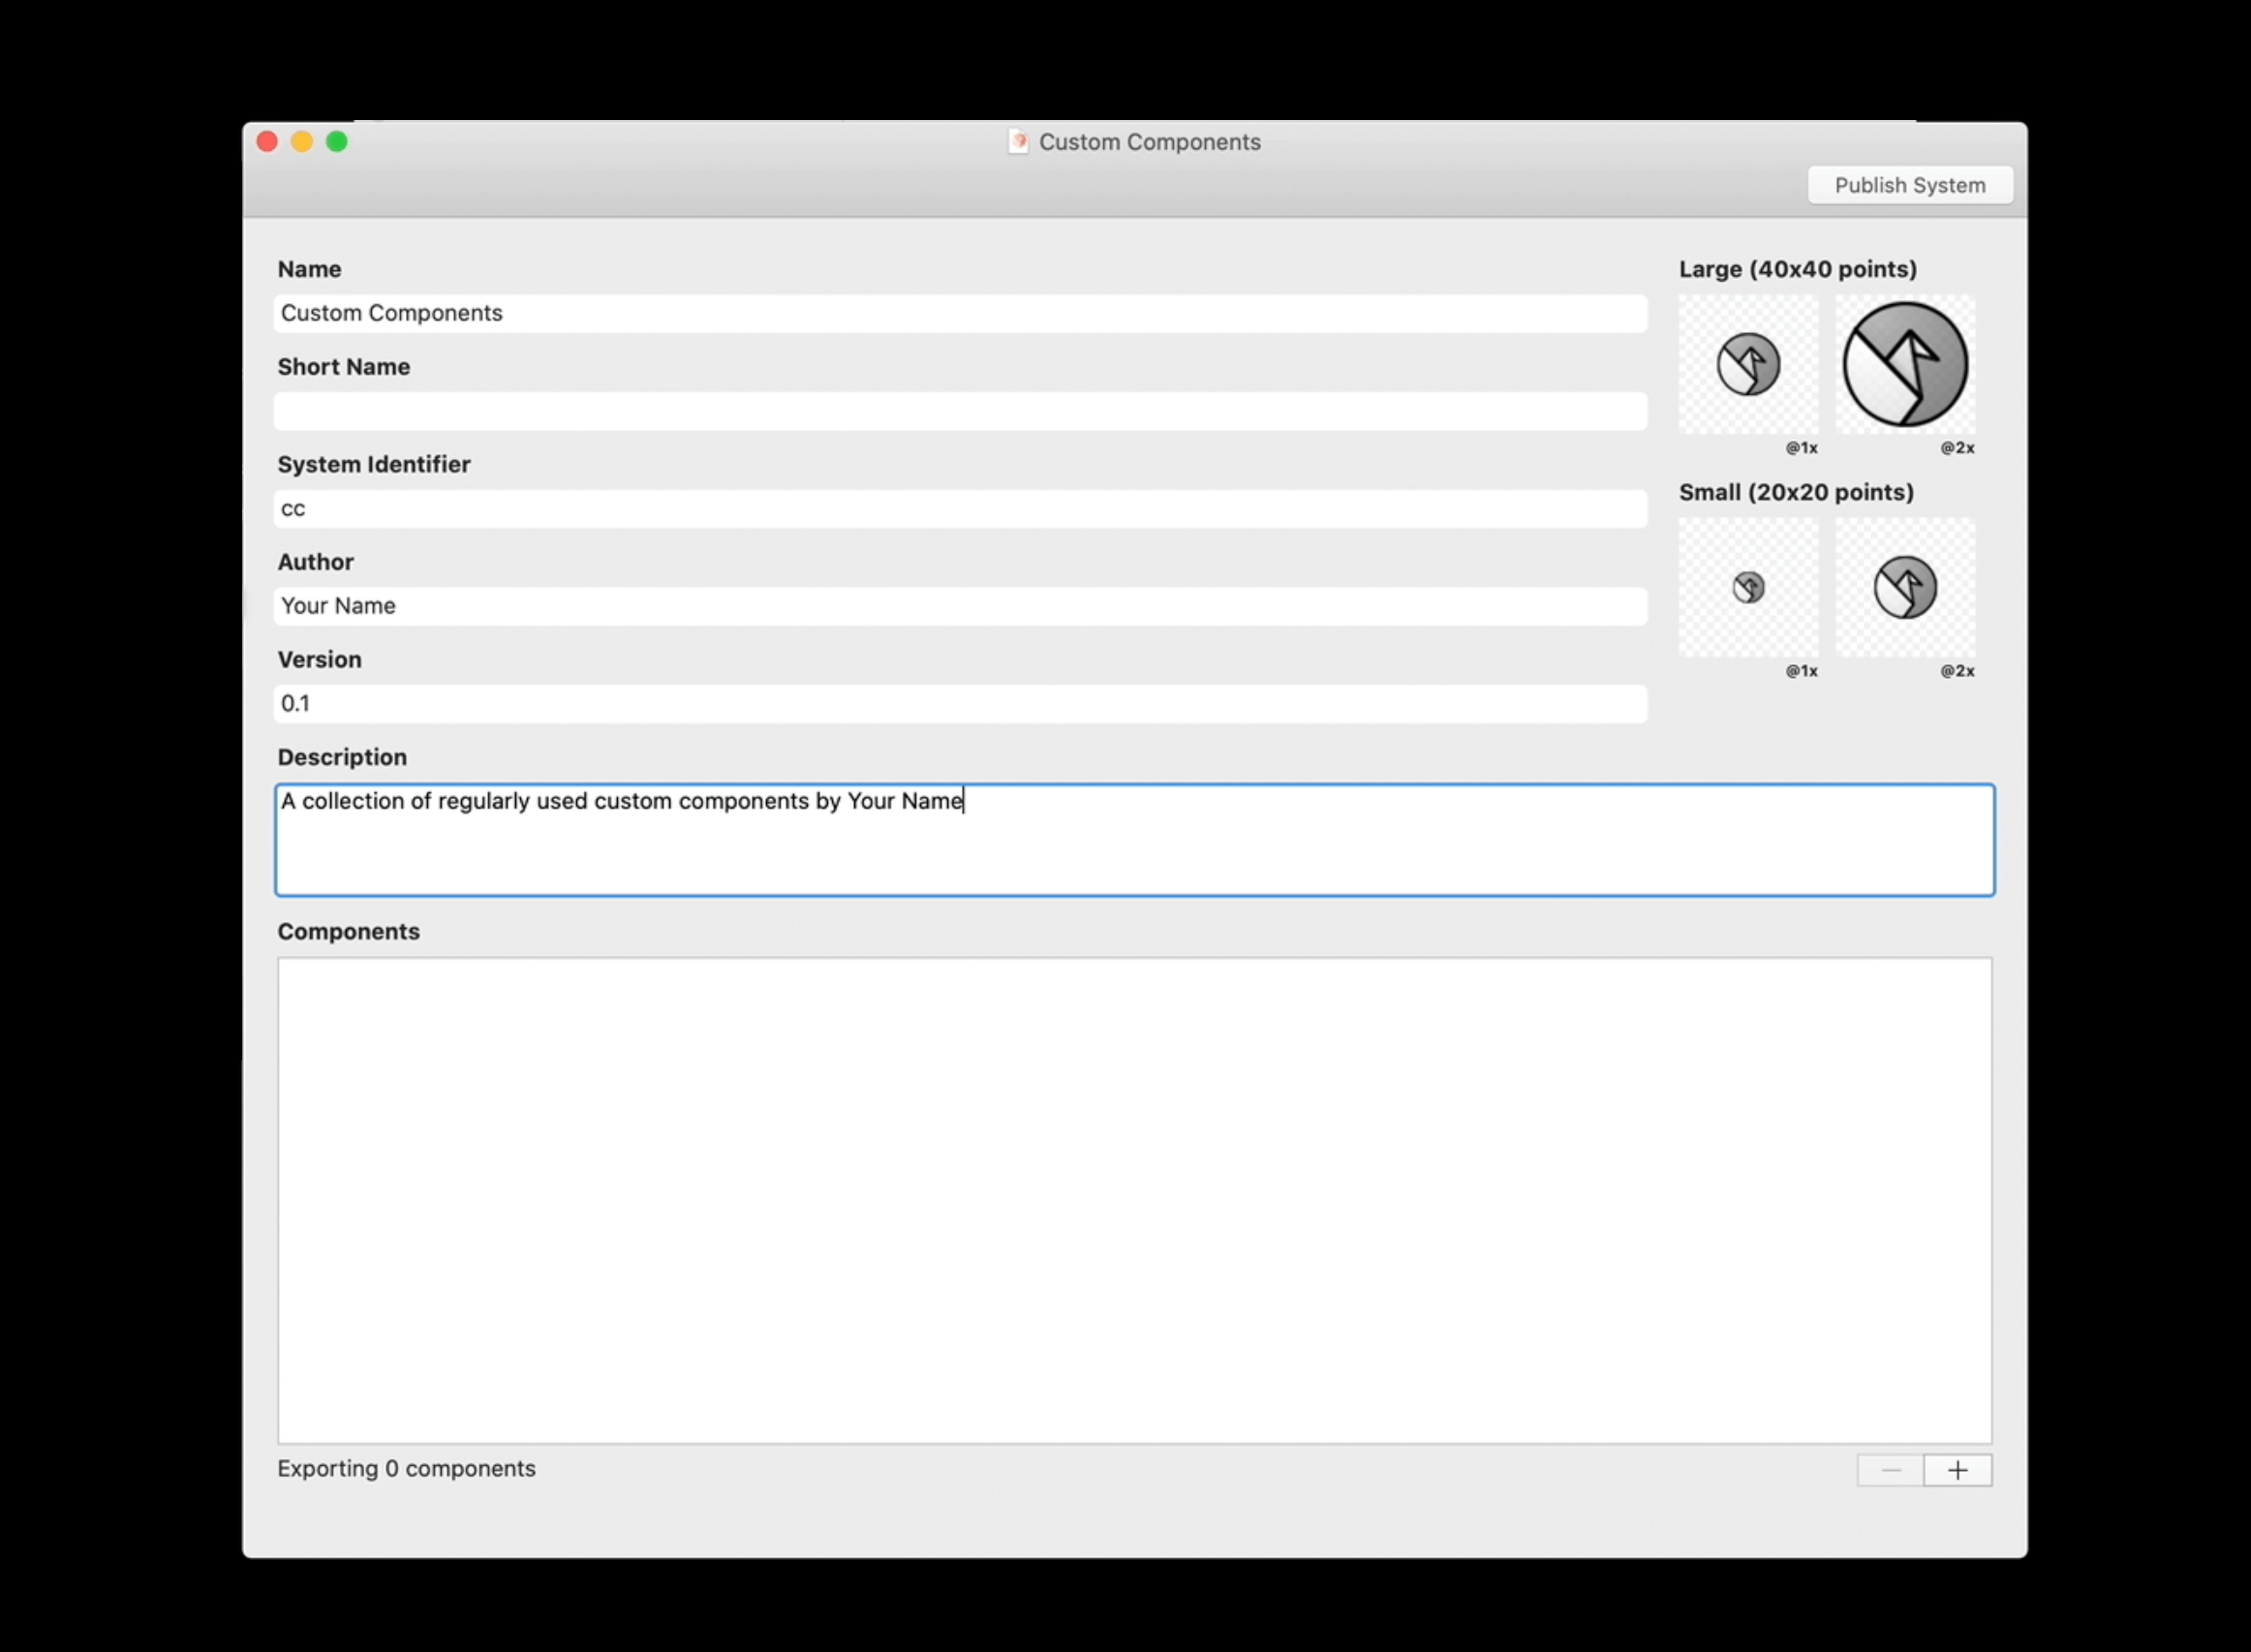
Begin by selecting the name field, and entering Custom Components.
The next row is a system identifier value. This is a unique id that will associate our components with this system. Type in an abbreviated version of the system name, cc, without any spaces.
The authors name will be displayed on the Origami System Installer file allowing a point of contact for any future feedback. Type your name into this author field.
The version number makes it clear to users of the System whether they are using the latest version. Set the initial version number to 0.1. As you update the system in the future, increment this version number, and anyone with the system installed will receive updates and be prompted to upgrade old documents.
The description is also displayed to people when they open the system to install, so make sure this describes any useful notes about your system. For this example system, we’ll simply use A collection of regularly used custom components by Your Name.
An icon will make your system’s components stand out. It will appear in the Layer Library, Layer List, Patch Editor and the System Installer, so feel free to be creative. Drag and drop the icon files from the Starter Files folder onto the icon placeholders. The icons should be greyscale images, exported at four different sizes as indicated.
Adding components to the system
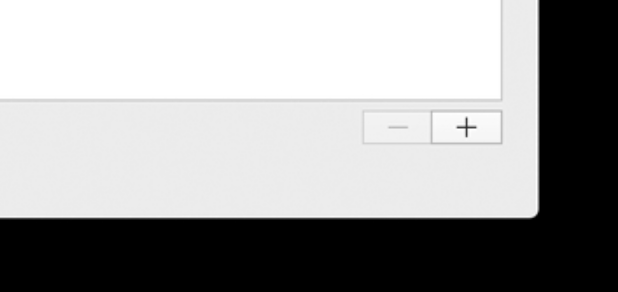
The components section at the bottom of the window is where we can add and remove components, it will list all the origami documents and components that have been added to our System.
Let’s add a new document to the system. Click the plus button at the bottom right of the component section, this will open a new Origami document, which will be our working file. Now add the Post component, that we added to the Layer Library during the Create a Component tutorial, into the document.
To add the Post component from the Layer Library, click the + icon in the top right of the window to open the Layer Library. Type Post to search for the component and press Enter to place into this document.

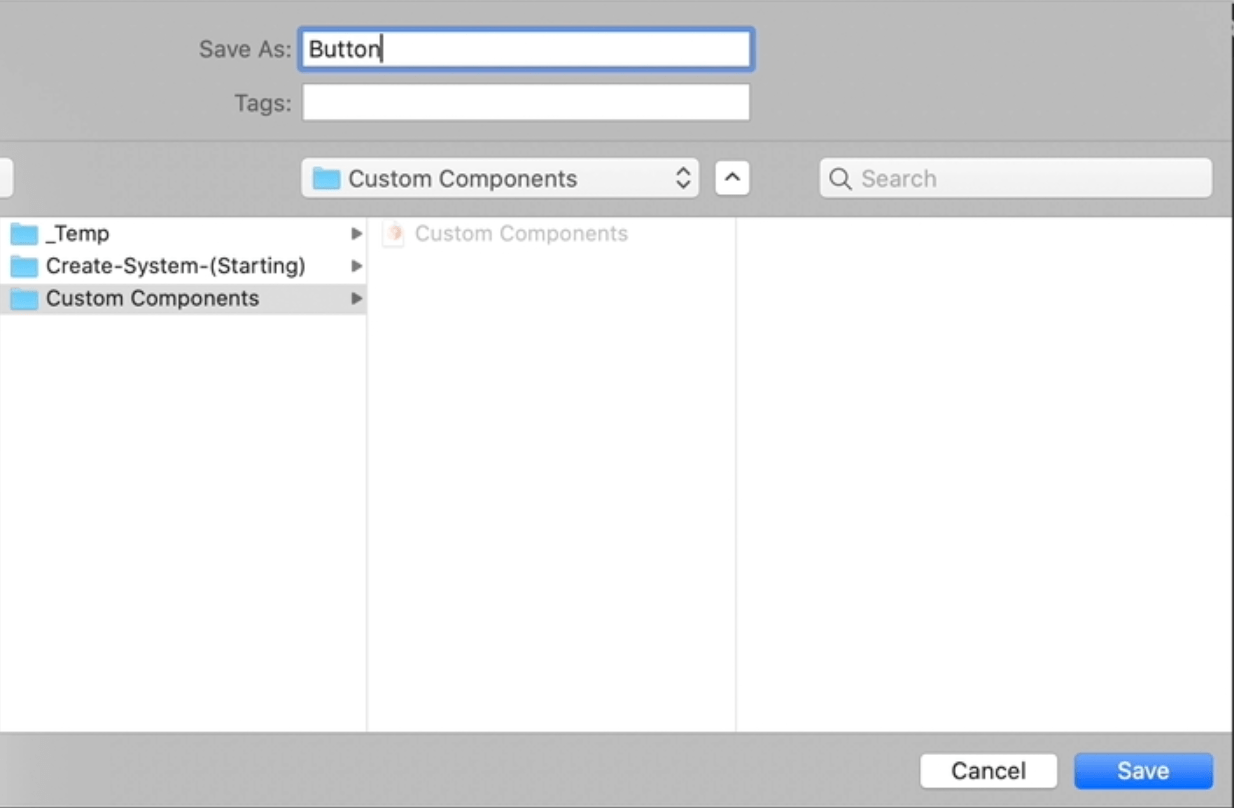
Save the document as Post. It’s important that the document is saved and inside the System folder, so the document and its Components are linked to this System.
Once saved, click on the “Open System Maker” button in the top right-hand corner of the interface. Note Any time this button is visible from an Origami document, this denotes that the file is a part of an Origami system. The System Maker should come back up, and you will now see that the Button is now a part of the System Maker.
Adding previously built components to the system
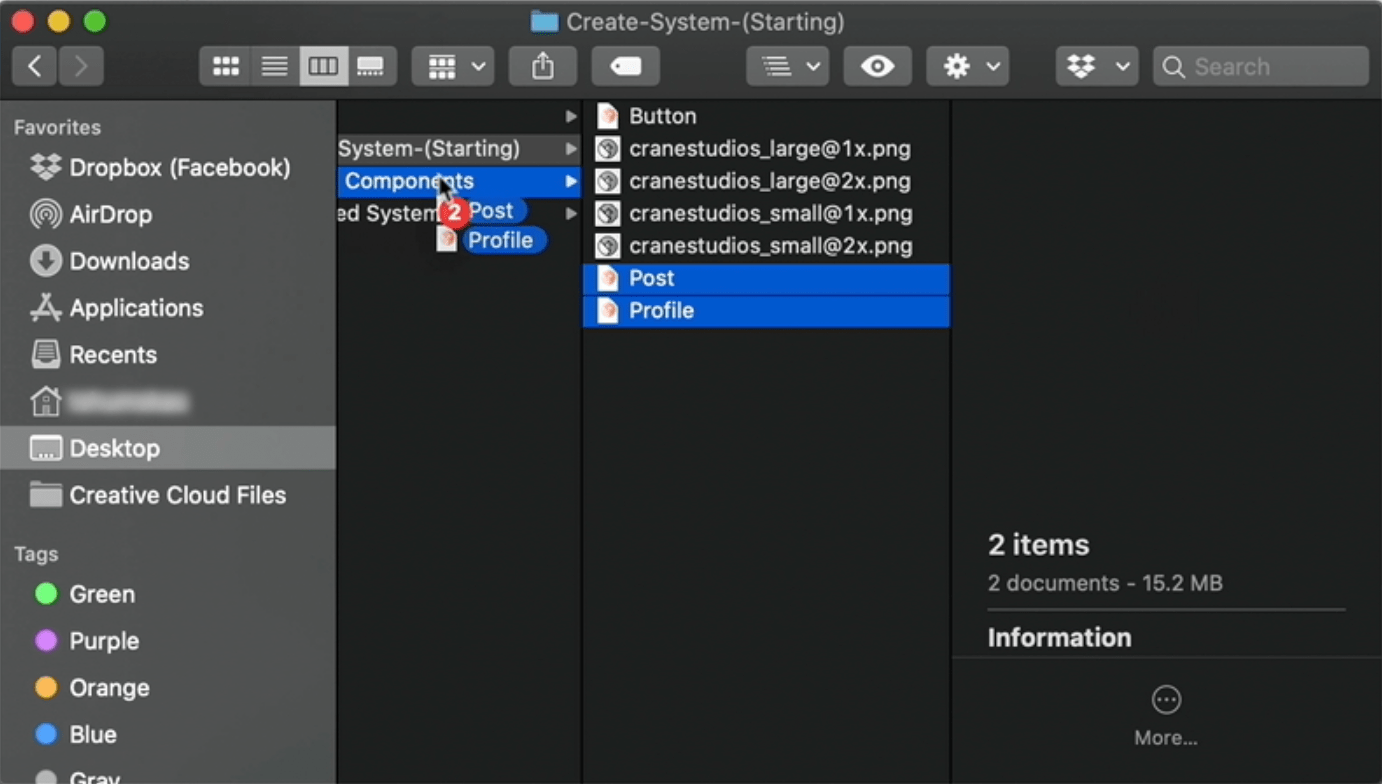
Adding previously built components to your system couldn’t be easier in Origami. In this example, let’s take the remaining two files, Post and Profile, from the Create-System-(Starting) folder and drag them into the Custom Components folder. Go back to the System Maker file and you will now see the two components have automatically been added to the system. Note This only works for document components within the file. If there are other library components in the file, they will be ignored (i.e., not be able to be published as part of the system, but may be embedded as a part of a component).
Publishing the system
Once all the Components have been added to the System Maker, we need to publish all the meta data and components into an installer file.
To publish the system, click the Publish System button in the top right of the screen. The published system must be saved outside of the system folder, otherwise all the published components will appear in the System Maker, creating duplicates. Move up one level to the Desktop and save it here.
Sharing your Origami System
Installing the system
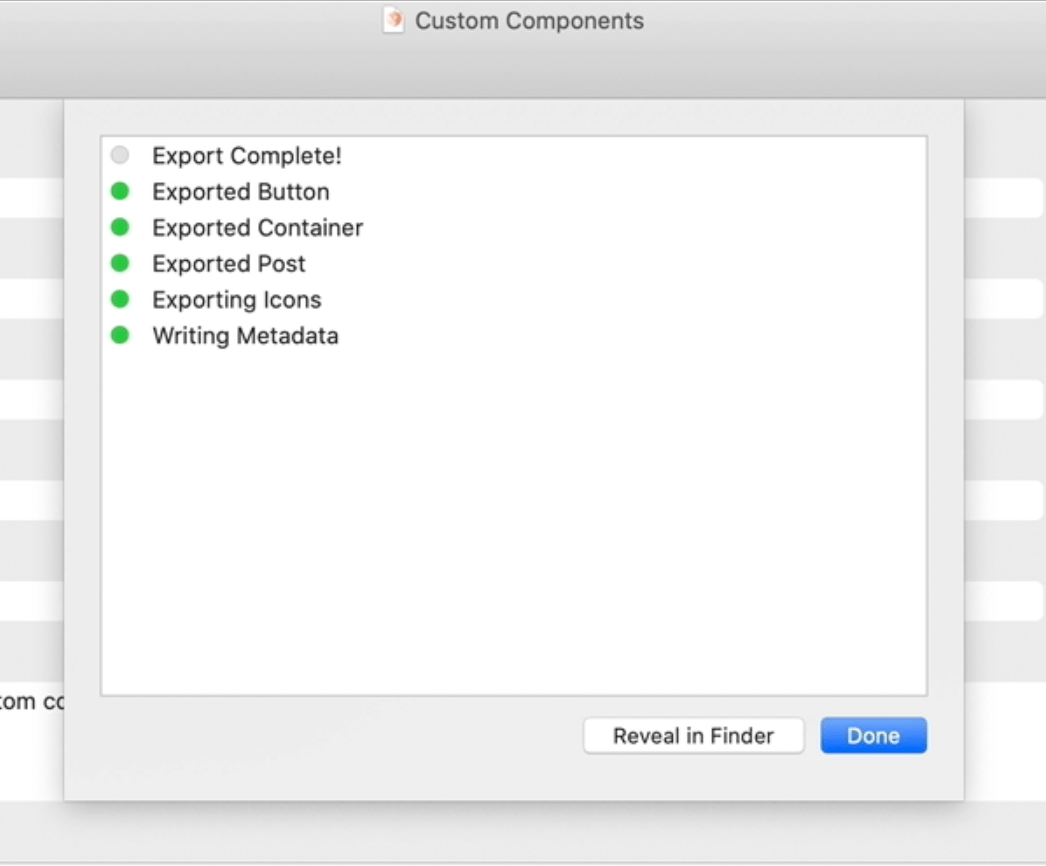
After the publishing has completed, an Origami System Installer file will have been created. This is the file you can share with others.
To locate this file in Finder click the Reveal in Finder button.
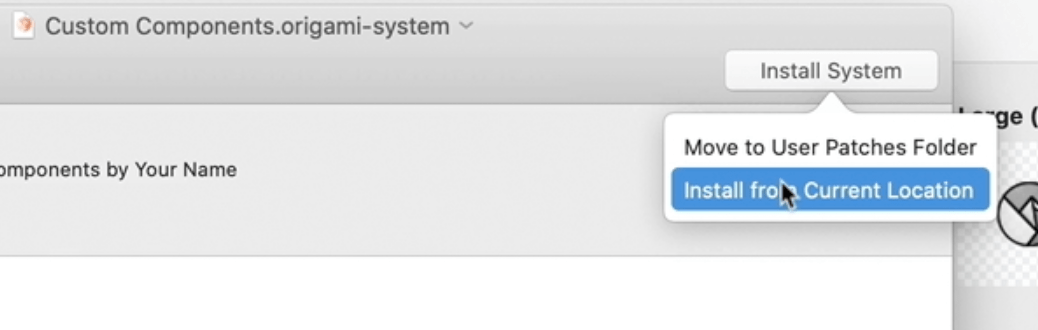
To test it, install the System using the System Installer which we just published. Double-click on the new .origami-system file, this will open the system installer. This window displays a preview of the components in the system and all the meta information we entered earlier. To install simply click the Install System button at the top right of the window.
Upon clicking you will be presented with two options in a contextual menu: ‘Move to User Patches Folder’ and ‘Install from Current Location’. By selecting ‘Install from Current Location’ we will be accessing the system directly, rather than a copy that lives inside our User Library.
Click Install from current location, you will be presented with a confirmation window. Now that the system has been installed, close the installer and click Done on the System Maker.
If you plan on sharing the system with others, we’d recommend publishing the system on a shared folder or a file sharing service like Dropbox or Google Drive. When the system is installed from a shared location, everyone will receive updates to the system, and existing documents with older components will be prompted to upgrade.
Using components from the System
Let’s check out our newly installed component by creating a new document and adding the new system Button component.
First, quit and re-open Origami Studio to reload the libraries with our new components and open a new document.
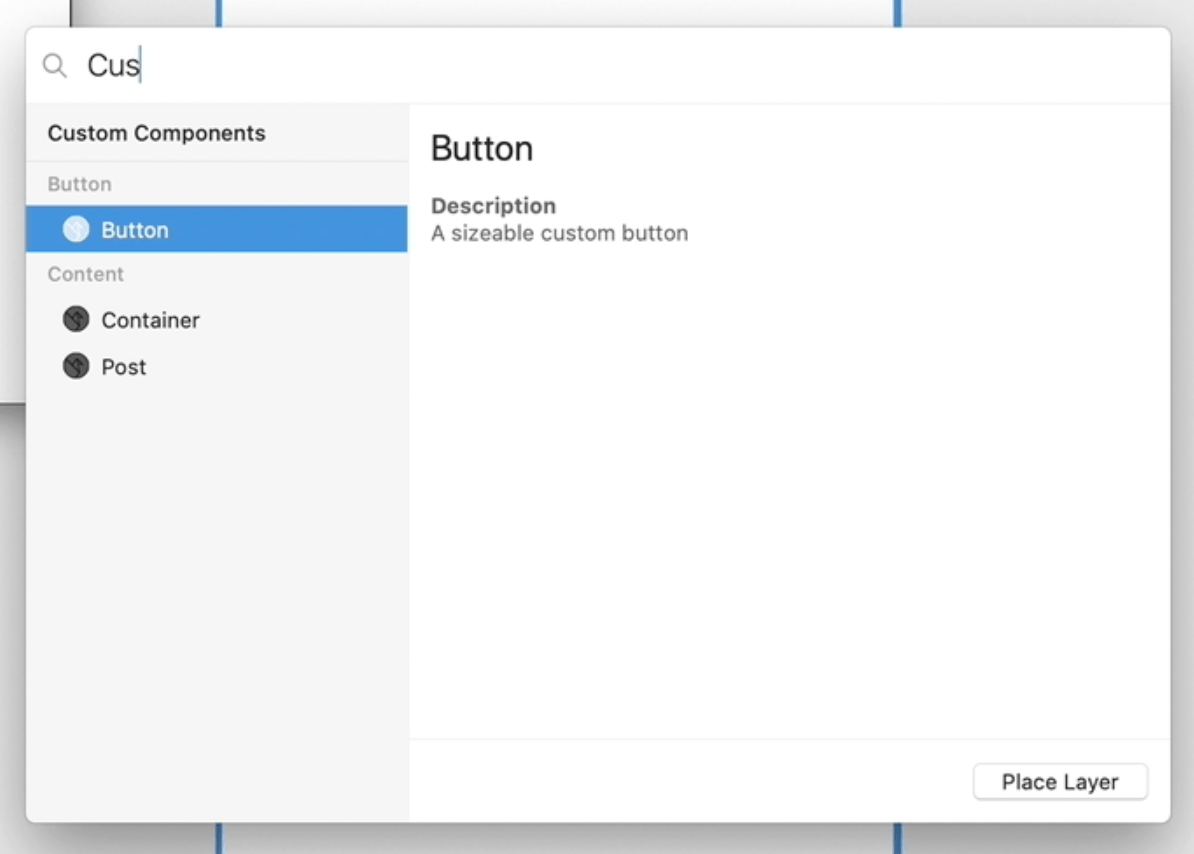
Open the layer library and type Crane Studios to search for our new system components. Select the Button component and press enter to add it to the layer list.
Wrapping Up
That’s it, we have created our own System that can be easily distributed to other users. To add more components to the system, just repeat the steps in the ‘Adding components to the system section’ and re-publish the system.
We can also add patches to systems, visit the Component section in the documentation to find out more.