Using live data is a great way to make your prototypes feel more realistic. In this tutorial, we’ll build an App Store prototype that downloads live data from Apple’s iTunes Search API using the Network Request patch. We’ll use this data to update text and images while generating a looped list of applications.
If you have already been through Introduction to Loops, this tutorial will show you how to bridge live data with loops. Download the starter tutorial files to follow along as we rebuild this prototype.
Network Request
The Network Request patch allows you to request live data in Origami from a variety of sources. Once you have live data in Origami, you can use it to fill content, generate views, and bind data to different layer properties.
Setting up the data source
Begin by selecting the patch editor and adding a Network Request patch by pressing ⌥⏎
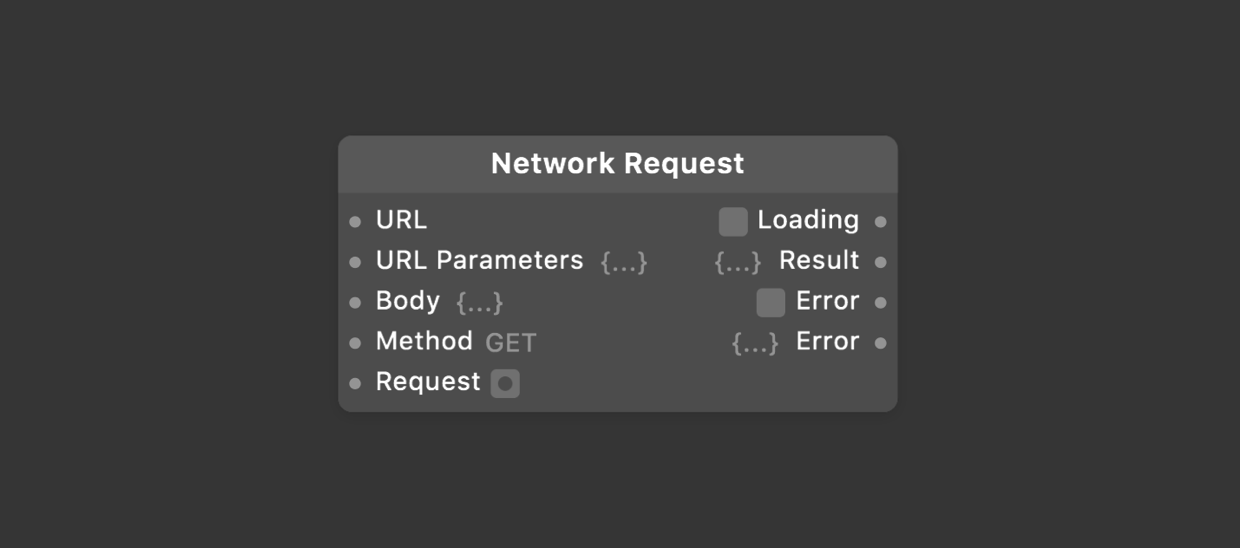
To receive data from the Network Request patch we need to add an URL input (an endpoint) and then tell the patch to request data from this URL.
Paste the following URL into the URL input of the Network Request patch:
https://itunes.apple.com/search?term=facebook&media=software
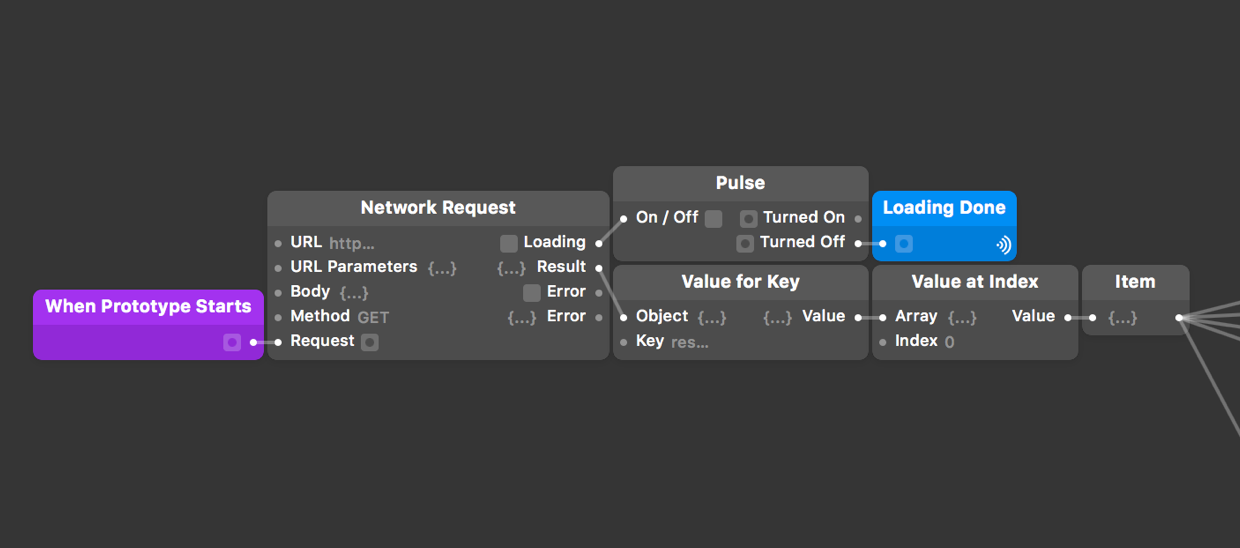
We want to request data every time the prototype starts, so we’ll use the When Prototype Starts patch. Add this patch and connect its output to the Request input of the Network Request patch.
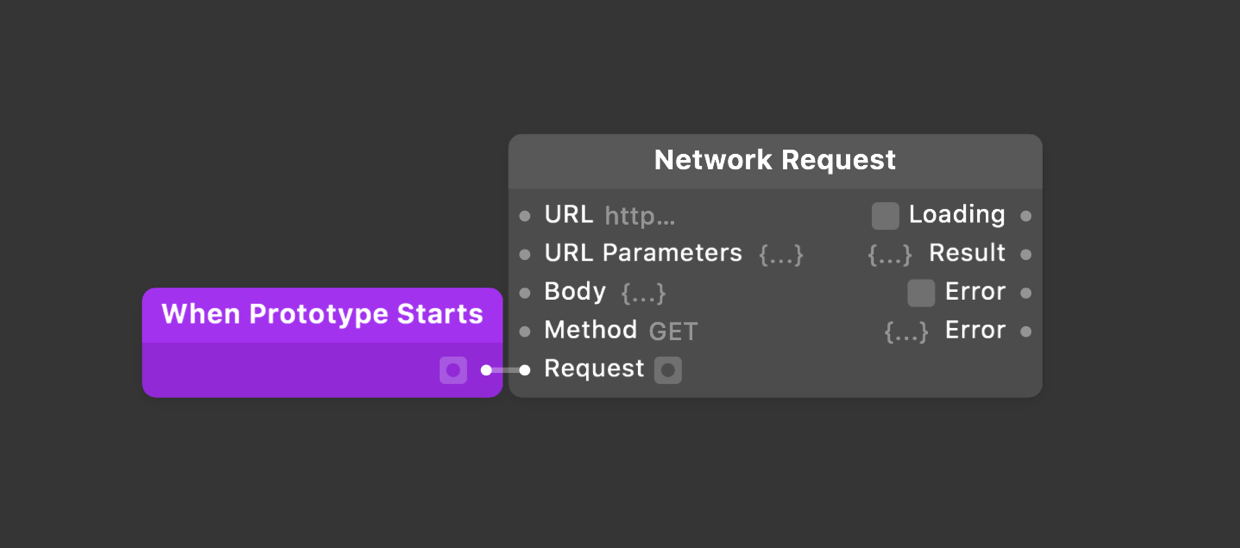
Restart the prototype by clicking the refresh button on the viewer’s toolbar⌘R, the Network Request patch will now load new data from Apple’s iTunes Search API.
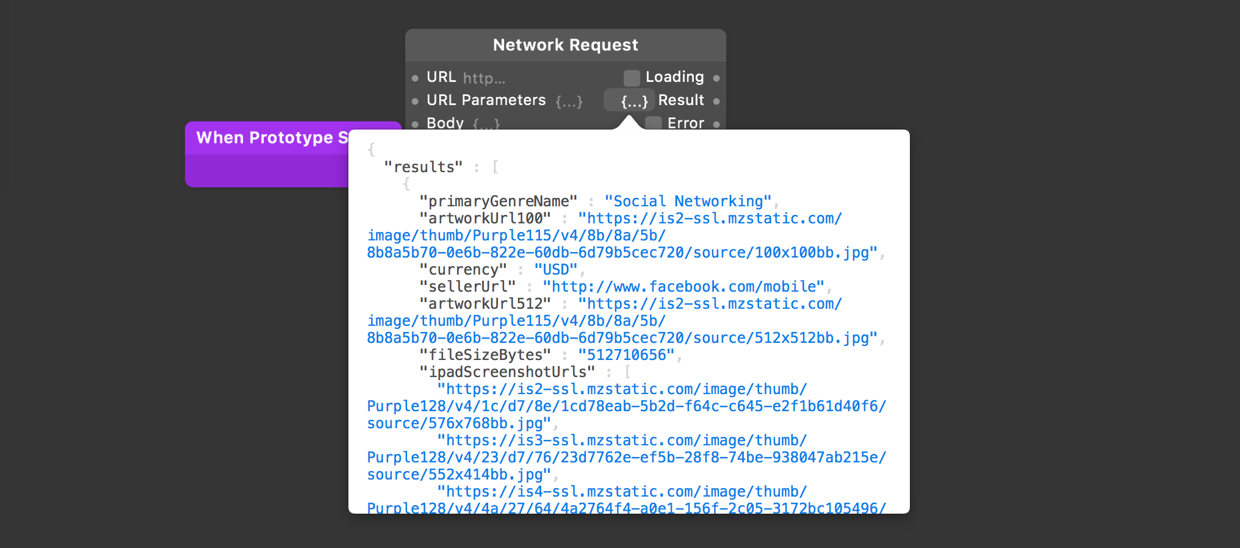
You can check this data out by clicking on the value beside the Result output.
Traversing the JSON result
The displayed result is in a format called JSON, which is a readable, compact and efficient format commonly used for exchanging data between applications and servers. For more information about JSON, visit this JSON Overview Tutorial.
JSON stores data in two different formats: an Array or an Object. Both store multiple types of data, including text, numbers, booleans, and more. Although these formats have a lot in common we access the values from an array or an object with different patches.
Arrays
Arrays store values between two square brackets [] as shown in this example:
[ "Facebook", "Messenger", "Moments" ]
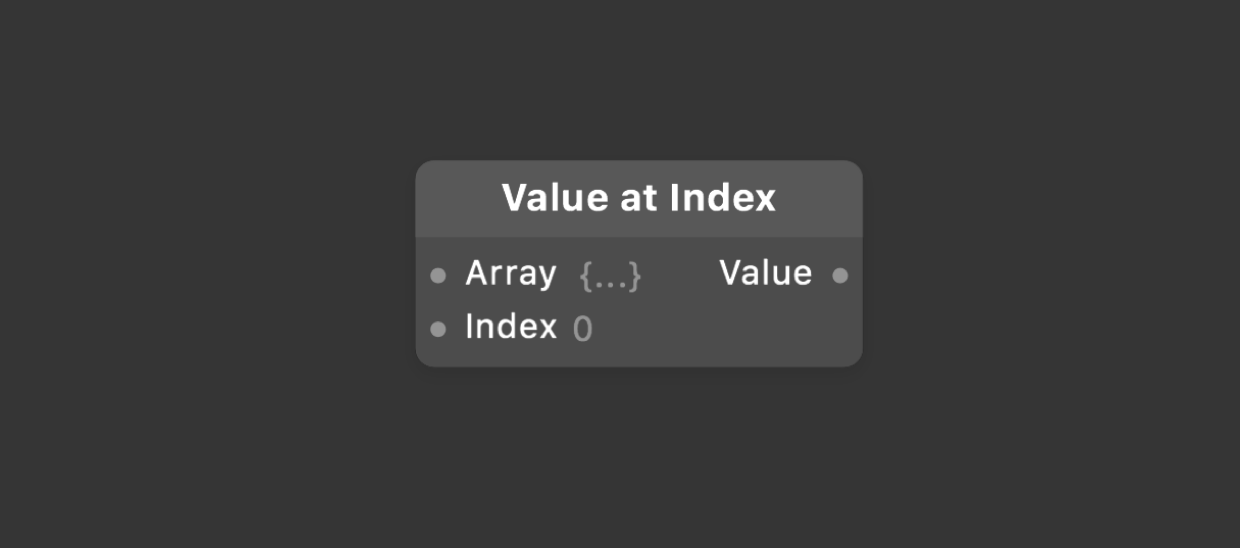
These values are numbered in order, called an index, they always starts at 0. To access these values we can use a Value at Index patch. In this example to return Facebook using the Value at Index patch, we would set the Index input to be 0. To return Messenger, we would set the Index to 1.
Objects
Objects are stored within two curly brackets {} and always start with a Key in "". Keys are followed by the Value for that key, as shown in this example:
{
  "Currency" : "USD",
  "primaryGenreName" : "Social Network",
  "fileSizeBytes" : 412321
}
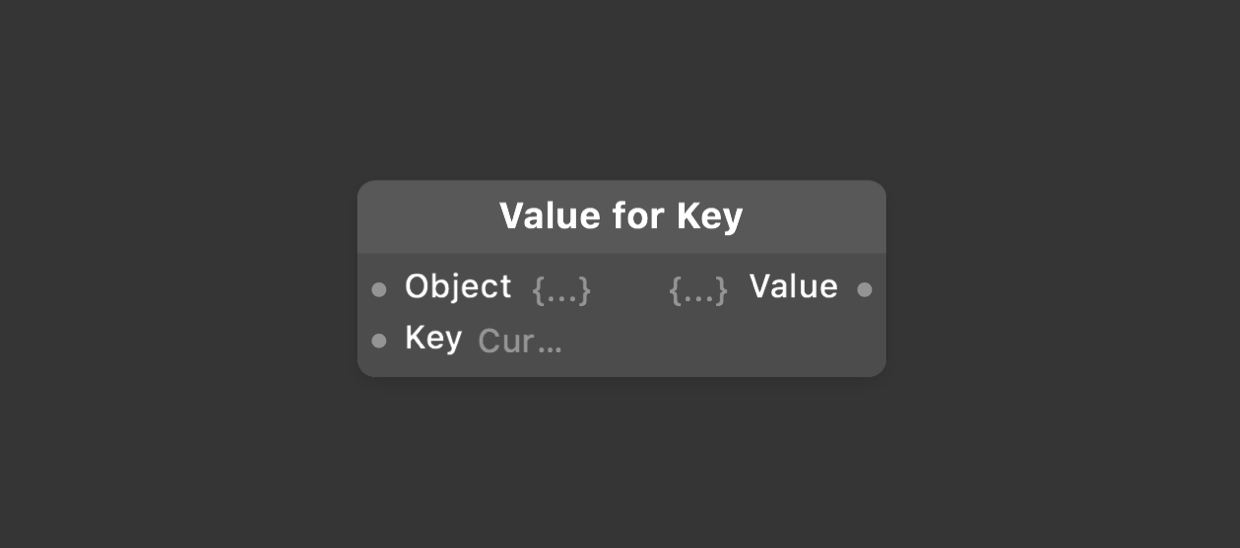
To access values from an object in Origami, you can use the Value for Key patch. Say we want to return the USD value, we would use a Value for Key patch and set the Key input to be Currency.
Using the result in Origami
If you scroll though the JSON you’ll see a lot of data, starting with a results Object. We’ll use the patches mentioned above to return details for just the first application in this JSON.
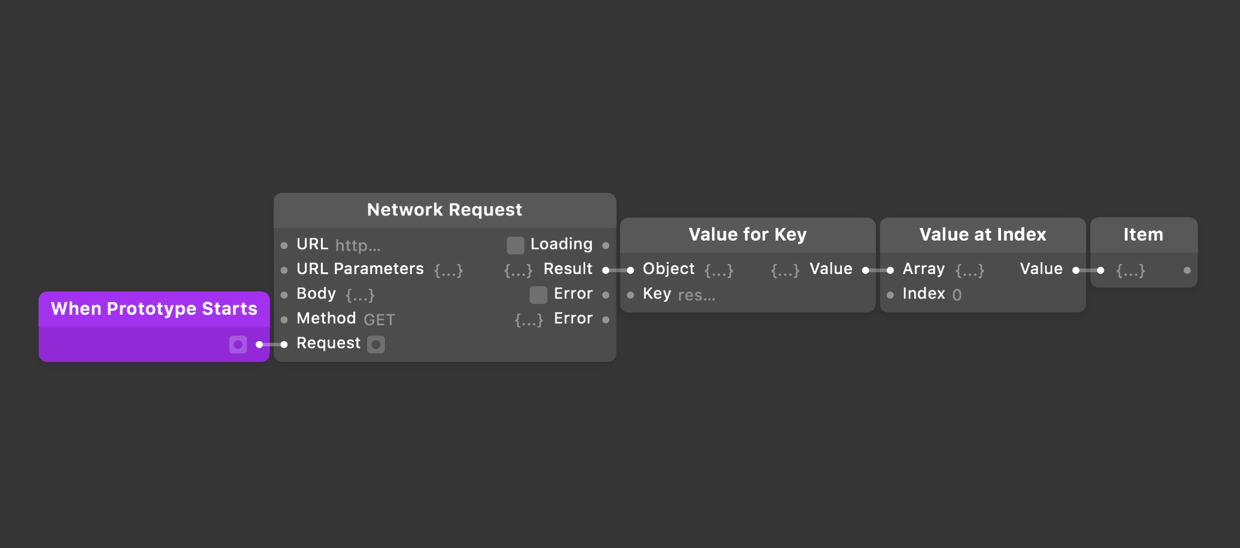
Do this by inserting a Value for Key patch and connecting the Result output from the Network Request patch to the Object input of this Value for Key patch, then set the Key input to results.
Next we’ll add a Value at Index patch and connect the Value output of the Value for Key to the Array input. We want the first result of this Array so we’ll keep the Index input as 0.
Later in this lesson we’re going to build a list of results and replace this Value at Index with a Loop Over Array patch. For now we’ll add and connect a Splitter to the Value output. Right click on this Splitter and change its type to JSON then rename the patch to Item.
Filling text layers
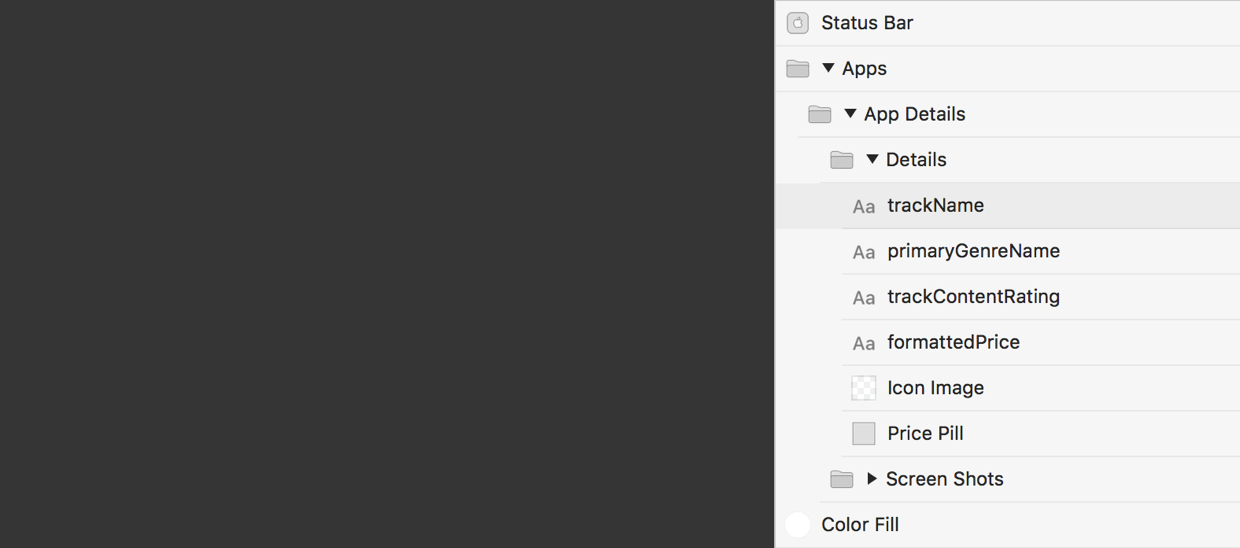
Now that we have an object with details for the first application we can start to update our text layers. In the Layer List, open the Apps group, then open the App Details group and inside you’ll see a Details group containing a few text layer’s that we’ll fill with data. Select the trackName Layer so we can see its layer details in the Layer Inspector.
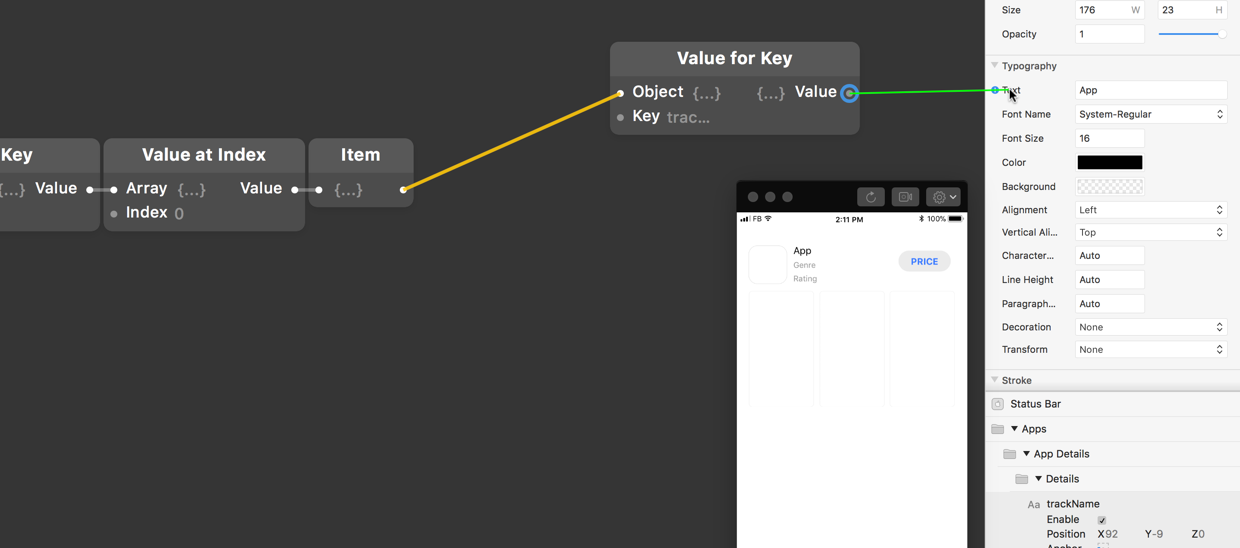
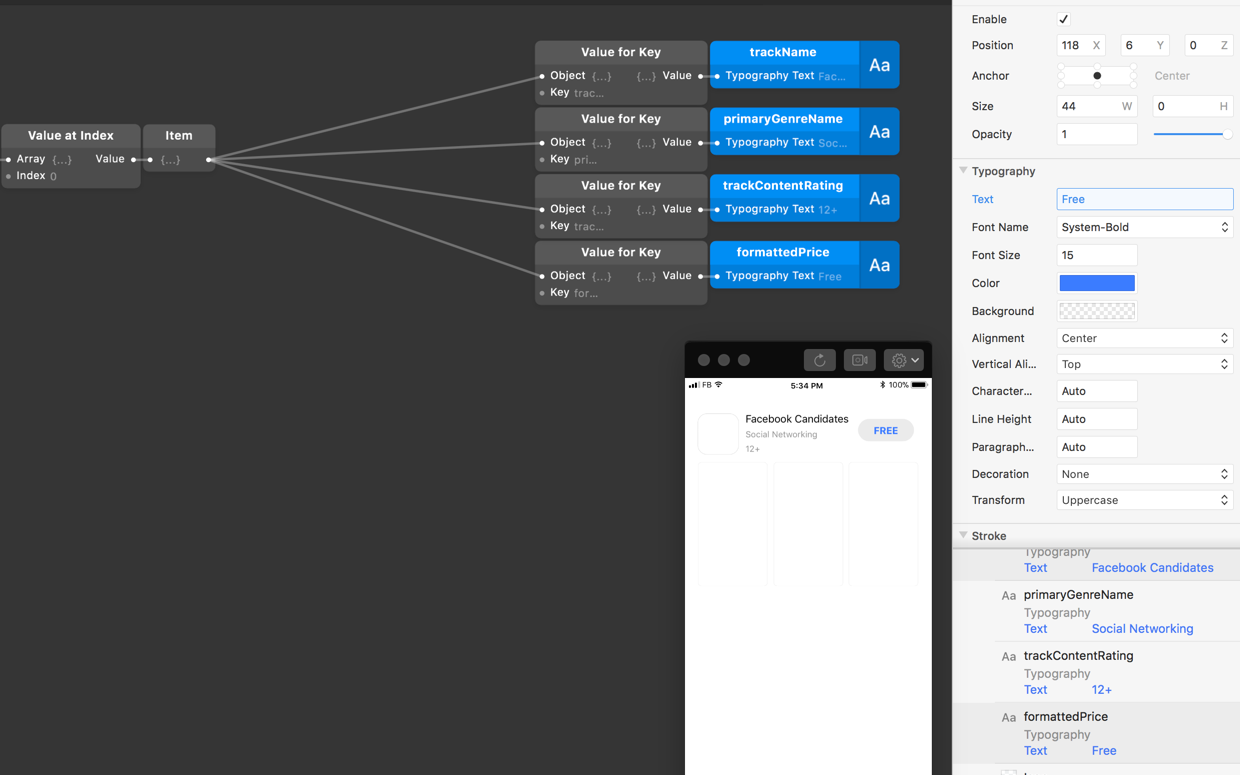
Here we want to update the trackName layer with the application’s name. Add a Value for Key patch and connect the Item Splitter to its Object input, enter trackName as the Key Input.
Next, bind the output to trackName layer by dragging the Value output to the Text input.
We’ll follow the same steps to update the additional text layers. Select the Value for Key patch, hold ⌥ and drag to duplicate. Do this three times, so that we have a total of four Value for Key patches all lined up below each other.
Enter primaryGenreName into the second patch’s Key input, then trackContentRating into the third and finally formattedPrice into the forth.
Bind the Value output of each patch by dragging and connecting to the Text property of their corresponding Text Layer.
You’ll see the Viewer has updated to display details of our first application.
Filling the app icon
Now lets update the blank Icon Image layer with the application icon.
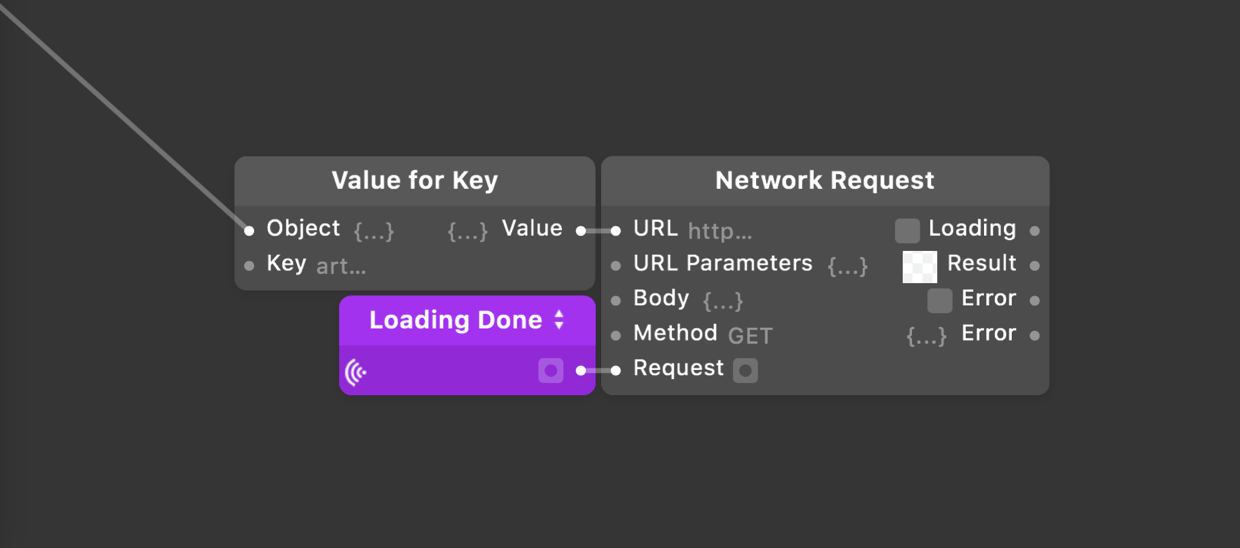
Select the Value for Key patch again, hold ⌥ and drag to duplicate. Then enter artworkUrl100 into the Key for this new Value for Key patch.

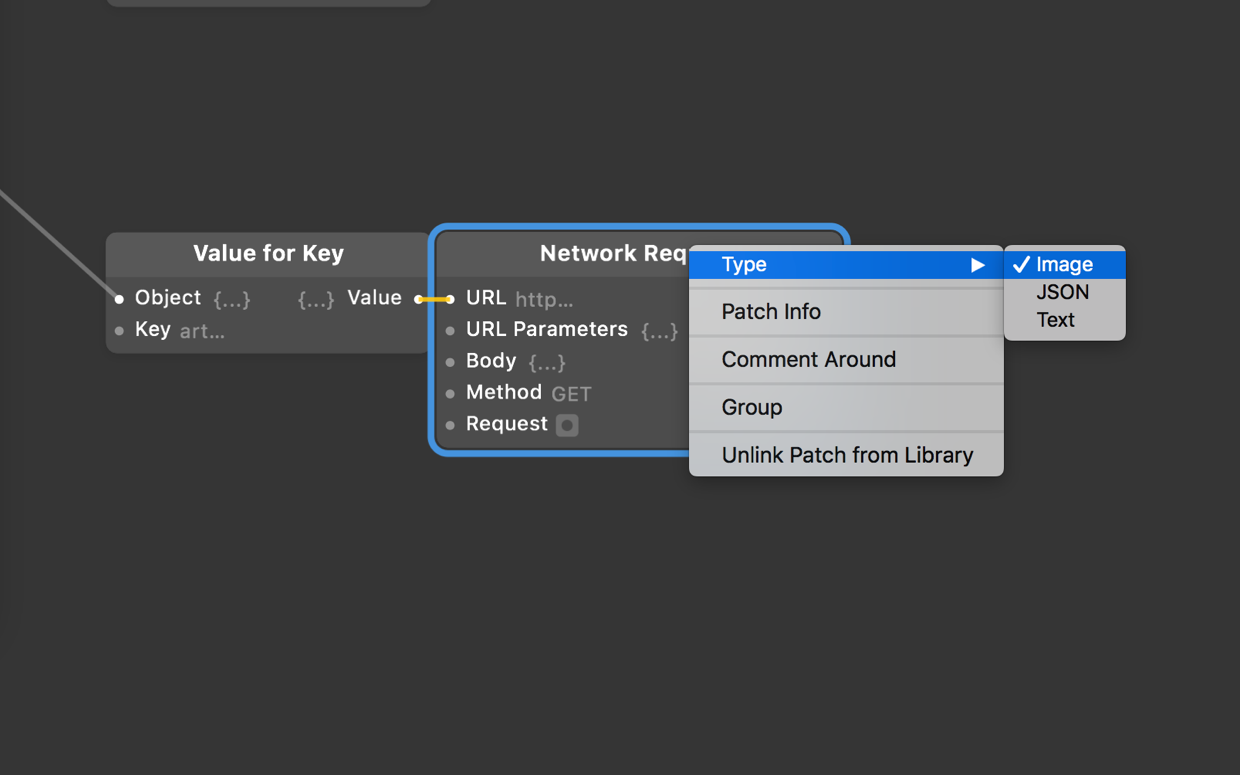
This Value for Key patch will return an image URL. In order to download an image from a URL, we must use a Network Request patch, but we’ll change the type to Image.
Add a new Network Request patch, connect the output from the Value for Key into the URL input, then right click on the patch and select Type, then Image. You’ll see the Results output change to a checkerboard image.
Requesting images
Like before we need to tell this Network Request patch when to request. This time, we want this, Network Request patch to request only when the first Network Request patch has finished loading.
To do this we’re going to use a Pulse patch to send a signal when the first Network Request’s has finished loading (when the Loading output has turned off). This pulse will be used multiple times so we’ll utilize the Wireless Broadcaster and Wireless Receiver patches to keep the patch graph tidy.
Find the first Network Request patch and insert a Pulse patch, connect the Loading output from this Network Request patch to the On/Off input of the Pulse patch. Then connect the Turned Off output to a new Wireless Broadcaster patch and rename the Wireless Broadcaster to ‘Loading Done’. Finally right click on the ‘Loading Done’ Wireless Broadcaster patch and change the Type to a Pulse.
Now go back to the Network Request with the Image type and insert a Wireless Receiver patch and connect it to the Request input. Restart the prototype to see this patch working.
Finishing up the app icon request
Select the Icon Image layer in the layer list, then connect the Results output of the Network Request patch to the Image input in the Layer Inspector. Once connected you’ll see the viewer update to display a Facebook Icon.
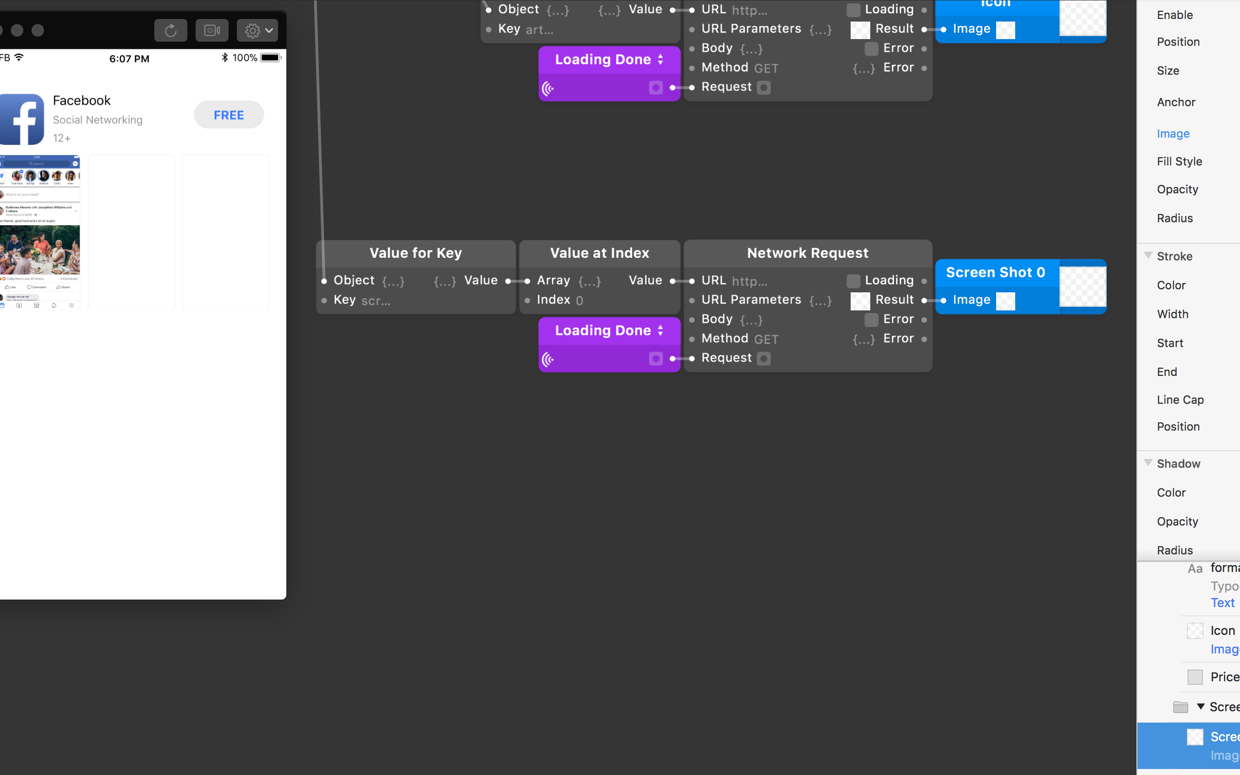
Adding Screenshots
Now we’ll update the three blank screenshots frames just below the App Details. This time we’ll access the screenshotUrls object that contains its own array.
Insert a Value for Key patch and connect the Item output to the Object input and enter screenshotUrls into the Key. Now add a Value at Index patch and connect the Value output of the Value for Key to the Array input.
Add a Network Request patch and set the type to Image. Connect the Value at Index output to the URL input of the Network Request patch and connect a Wireless Receiver patch (Loading Done) to the Request Input.
In the Layer list, expand the Screenshots group, select the Screen Shot 0 layer and drag the Result output of the Network Request patch to the Image input of the Screen Shot 0 layer.
Restart the prototype and you’ll see the first screenshot appear in the Viewer.
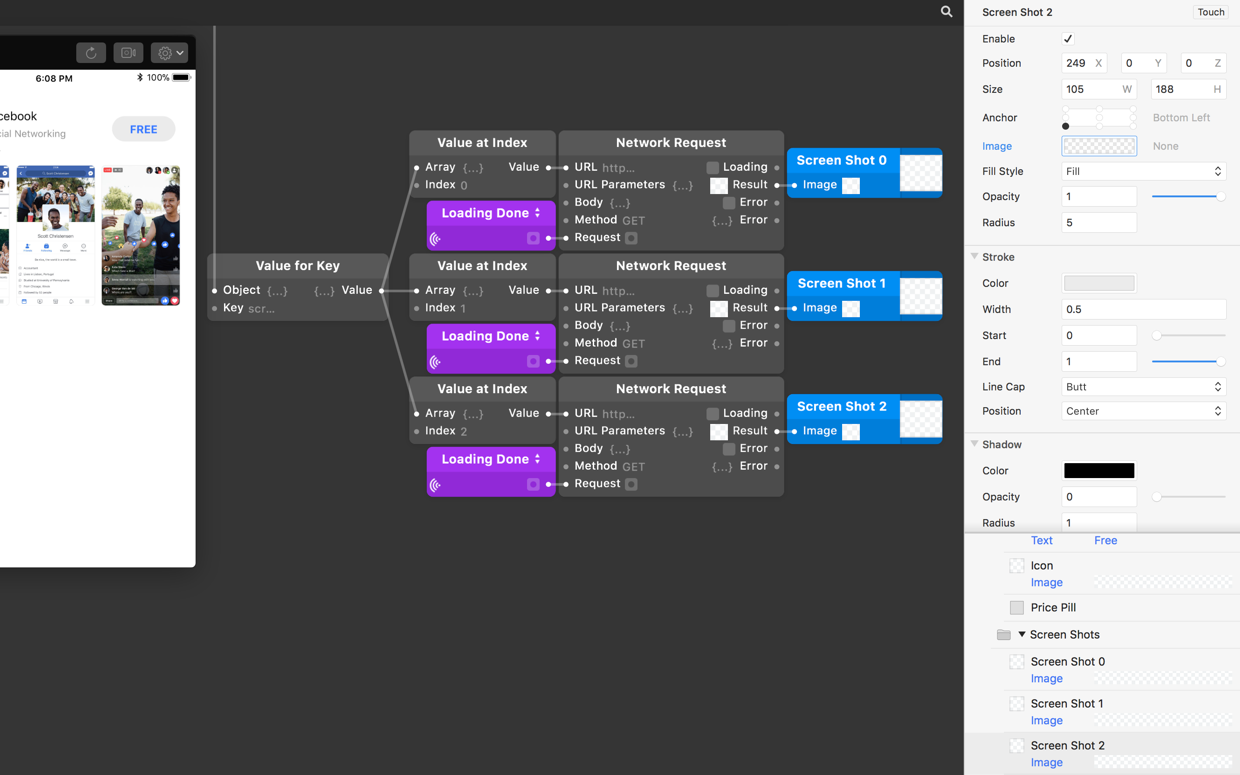
To fill the two remaining screen shot layers, hold the ⇧ key and select the Value at Index patch, the Network Request patch and the Loading Done patch, then hold the ⌥ key and drag downwards to duplicate. Do this twice, so we have three copies.
Change the Index input on the second Value at Index patch to 1 and change the Index input on the third Value at Index to 2.
Select the Screen Shot 1 layer and bind the Result output of the second Network Request patch to the Image property, repeat for Screen Shot 2 layer and third Network Request patch. Then restart the prototype.
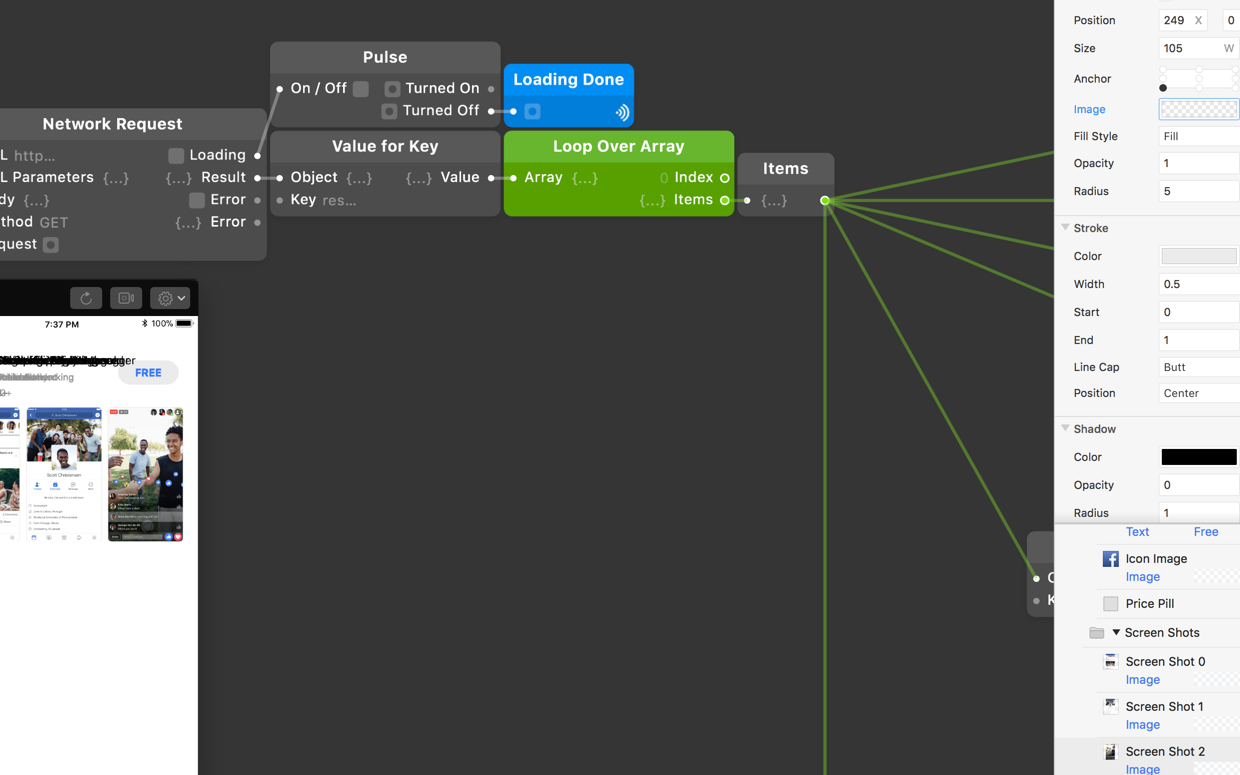
Generating more results
We now have one group filled with live data! Next we want to display all the remaining applications. Instead of duplicating patches lets generate a list of applications using a Loop Over Array patch.
Go back to the first Network Request patch and find the Value at Index patch we used to select the first Array. Now replace that Value at Index patch with a Loop Over Array patch.
Re-connect the Value output from the neighbouring Value for Key patch to the Array input, then use the Items output and connect to the Item Splitter. Rename the Item Splitter to Items.
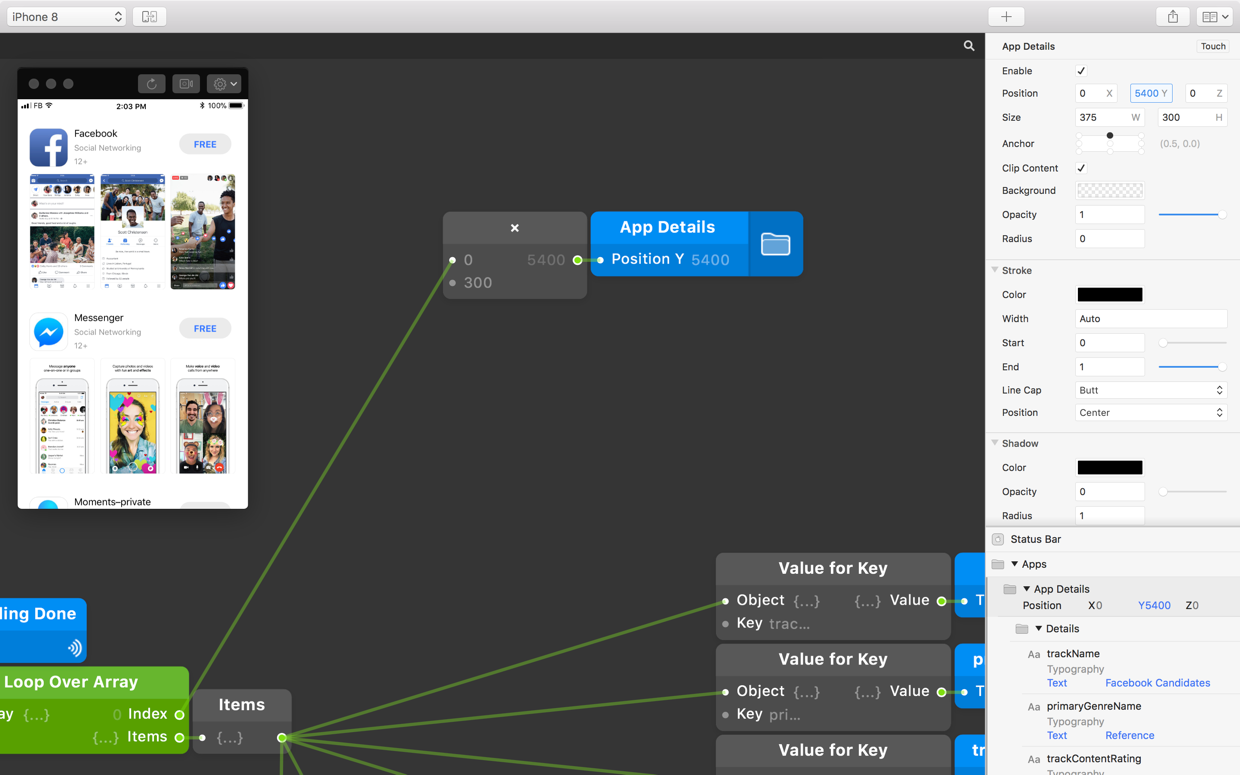
Laying out the results
Now lets layout the results on screen. We’ll use the Index output of the Loop Over Array patch to create and position each App Details group vertically.
The App Details group has a height value of 300, therefore we need each new App Details group to have a Y position 300 more than the previous App Details group. To do this, we’ll multiply the index of the Loop Over Array by 300.
Insert a Multiplication patch and connect the Index from the Loop Over Array, then set the second input to 300. Connect the output from the Multiplication patch to the Y position input of the App Details group. Give the prototype another restart and as a result each group will be positioned 300 points vertically below the previous group.
Adding scroll
We’ve now generated a list of results, but we can only see two applications on screen. Let’s add a scroll view so we can scroll down this list to see all the apps.
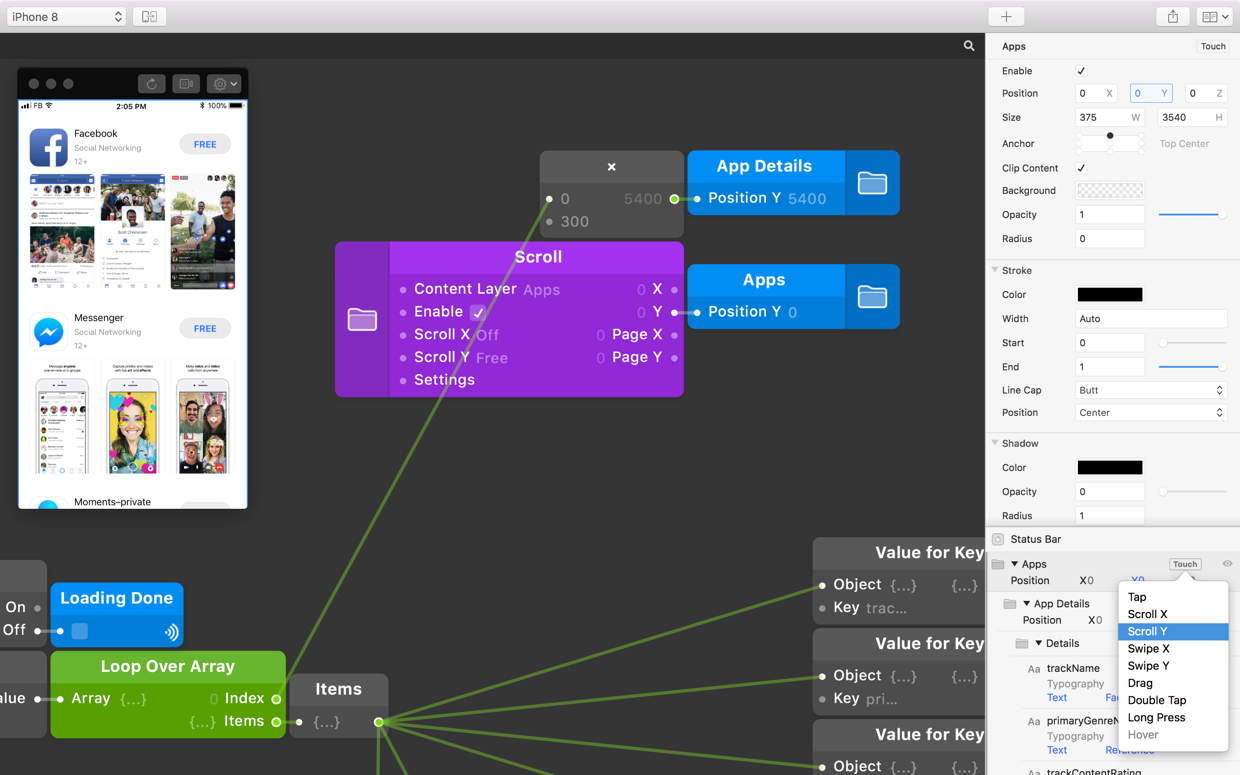
Select the Apps layer, click the Touch button, and select Scroll Y from the menu.
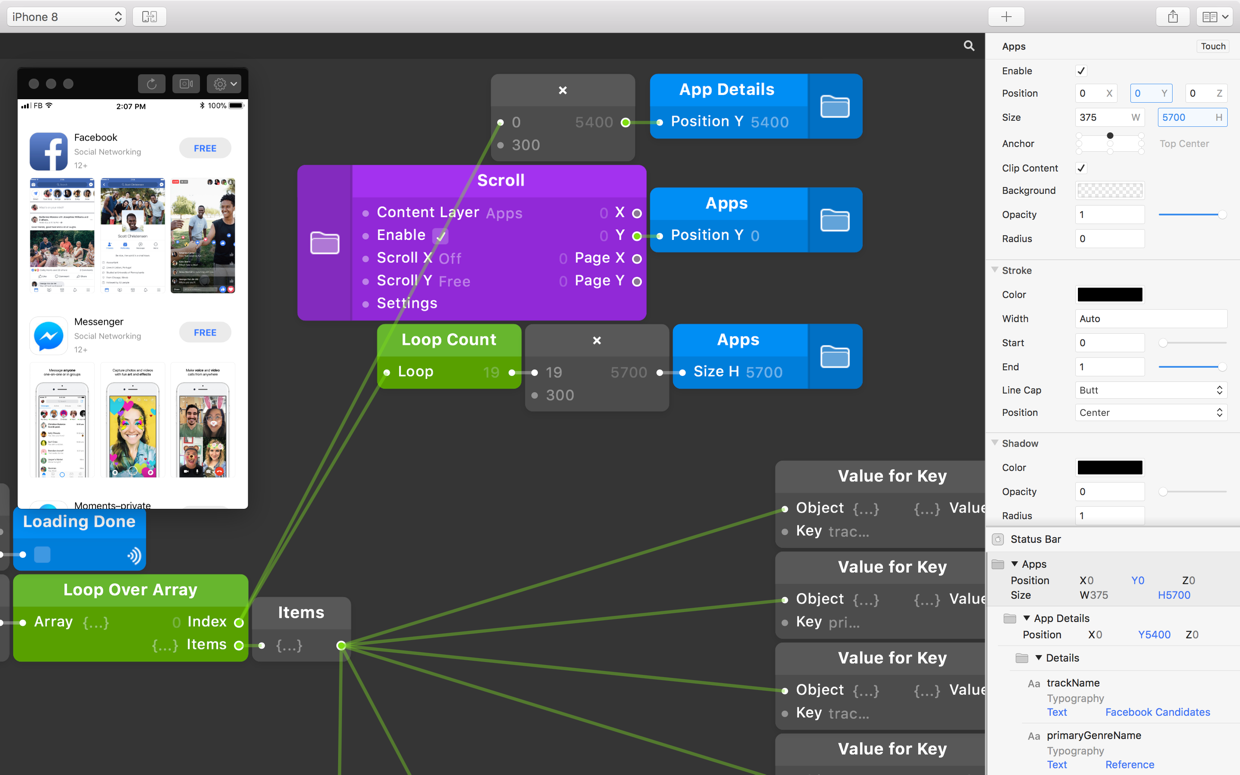
Finally, let’s make sure that the Apps scroll group is large enough to show all of the apps. To do so, lets calculate the height of the group based on the height of each App Details group, multiplied by the number of items the Loop Over Array patch has.
To count the items in Loop Over Array, insert a Loop Count patch and connect the Index ouput of the Loop Over Array to the Loop input of the Loop Count patch.
Next, add a Multiplication patch, and connect the output from Loop Count to the first input. For the second input, we’ll use the height from the App Details group – the same 300 that we used earlier. Connect the output from the Multiplication patch to the Height input of the Apps group.
Wrapping Up
And that’s it! The prototype should now be filled with live data from the Network Request patch, laying out each result on screen with a dynamic scroll view that displays all of the applications from our original Network Request patch.
If you want to play around more, go back and change the URL in the original Network Request and try replacing the facebook term in the URL with something else.