Components
Components are a powerful feature in Origami that allow you to reuse layers and patches across your document’s artboard, screens or even multiple documents. When you make changes to a component, those changes appear everywhere you use it in your prototype. They’re similar in concept to Components in Figma or Symbols in Sketch.
Components can be comprised of layers, patches or both.
Patch Components are made up of solely of patches. Use patch components to reduce clutter and encapsulate a group of patches that perform a function. Think of them similarly to functions in programming.
Layer Components are made up of both layers and patches. Use layer components for re-usable UI objects in your design that can also have their own functionality. (Ex. A button component can have text and rectangle layers for its UI and contain an Interaction patch, among others, for its functionality.)
Creating Patch Components
To group multiple patches into one component, select the patches and choose Component > Create Component ⌃⌘G from the menu bar or right-click and select Group Into Component….
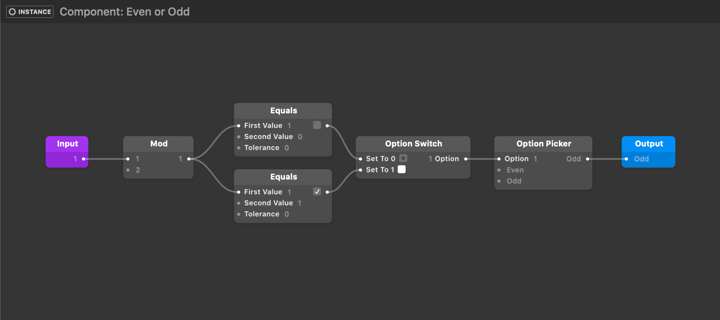
The group of patches above will be replaced by a new single patch component named “Even or Odd” with the inputs and outputs of the nodes it was connected to.
Even or Odd
- Input 1
- Odd Output
Note: Layer property patches cannot be grouped into a patch component - to build patch groups with layers, use layer components.
Editing Patch Components
To enter a patch group, double-click it or press ⌥↓. To leave it and go back, press ⌥↑. Menu items for entering and leaving a patch group are Component > Enter Component and Component > Exit Component.
The Input ports within components are represented by purple patches and the Output ports are represented by the blue patches.
Creating Layer Components
To create a component, select the patches from the Patch Editor and/or the layers from the Layers Panel/Canvas that you would like to be included in your component. Then, with those selected, from the menu bar click on Component > Group Into Component ⌃⌘G. Choose a name for your component then click Create.
You’ll notice a single layer with a purple cog icon has replaced the card group layers and the patches have disappeared. This is because everything has been moved into the component. This is now a local document component and it can be found in the Layer Library under Document Component.
Editing Layer Components
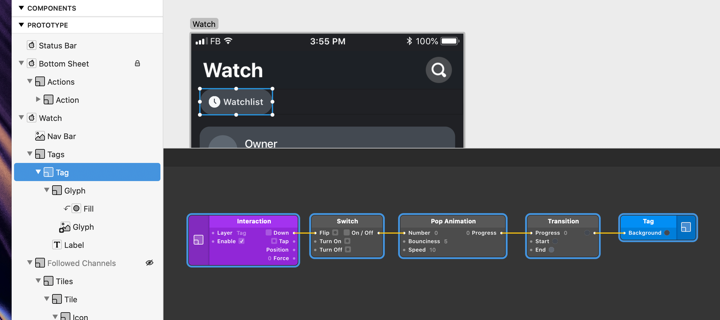
Edit a component by selecting the components artboard on the Canvas or by double-clicking the component in the Layer List or Patch Editor.
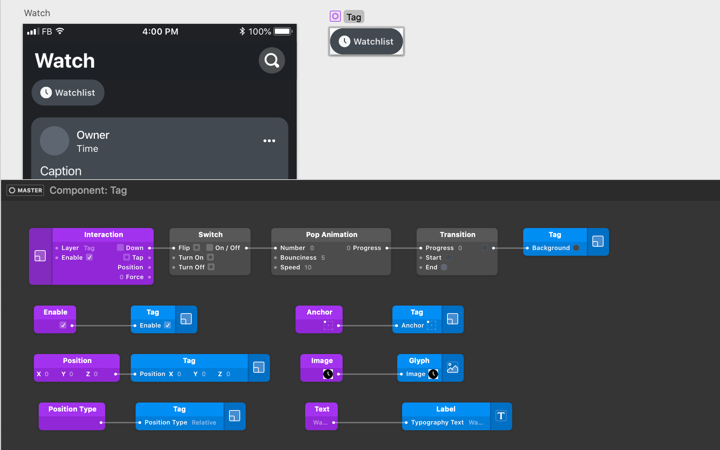
Once you enter the component you will see some patches that show the published inputs and outputs of the component. Published properties are the pieces of the component that will then be editable from the main view. You will also see the patches and layers you added when creating your component.
Exit the component by clicking on Components > Exit Component ⌃⌥↑ or using the back arrow at the top of the Layer List.
Components Inputs and Outputs
To add, edit, re-order or remove the individual inputs and outputs, select the patch group and choose Component > Component Info ⇧⌘I to bring up the Patch Info popover. The Port Setup tab allows you to change the port type and other properties like default, maximum and minimum values.

To publish inputs or outputs from inside a patch component, select a port and choose Component > Publish Port ⌥P. This will add a purple or blue patch that represents an input or output on the patch group.
Components also have a number of special port tags available in the dropdown menu - for example, using the Enable tag will reveal the eye icon on your component for quick enabling or disabling. When a special tag isn’t needed, use the generic Custom tag.
Inserting Components
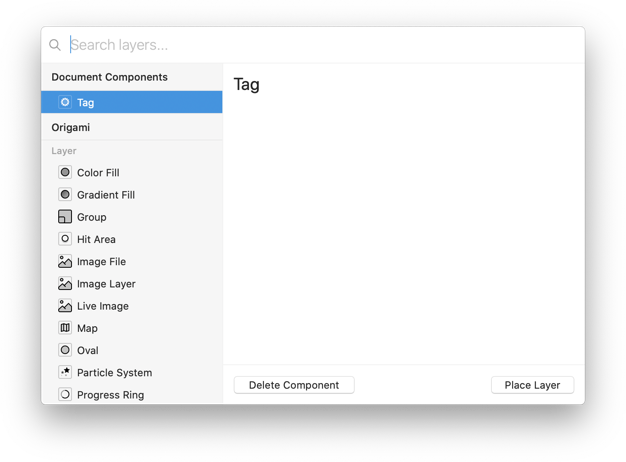
Components are a type of layer in Origami and live inside the Layer Library. To insert a component click the + in the toolbar to access the dropdown, then click Layer Library or use the shortcut ⌘ + Return to open the Layer Library directly.
Types of Components
Platform Components
iOS and Android native components such as status bar, tab bars, action sheets, progress spinners and more. These take on the properties and behaviors of their platform so your prototype feels native. These are also maintained by the Origami team.
Device Components
Special components that allow you to access device specific elements such as the Camera (called “Viewfinder”) and Text Field which captures text typed on the device keyboard.
Document Components
Custom components that a user can create within a single document. This component will appear in the Layer Library for that document only.
User Library Components
Custom components that have been saved to the user’s library and available in the Layer Library in any Origami file.
Patch Library
If you have a patch component that you use over and over, it may make sense to add it to your patch library. Select the patch component and choose Component > Add to User Library ⌘⌥L. Reveal the patch library folder by choosing Component > Show Patch Folder.
Once a component is in your library, you will be able to add it the same way as you add other patches and layers next time you start or open a document. To make it available in your current document, close and re-open it.
Updating Components
To make changes or add functionality to a component in your library, insert the patch or layer component to your document, make your changes and choose Component > Add to User Library again. Close and re-open any documents using this patch group or component, and Origami Studio will prompt you to upgrade the patches to the new version.
Make one-off changes to any patch or component by unlinking it from the library. Select the patch or layer component and choose Component > Unlink Component from Library.
Platform-specific Components
To limit a patch or component to a platform, specify a platform in the Patch Setup tab of the Patch Info popover. This will make your patch or component available only if the current device matches the chosen platform.
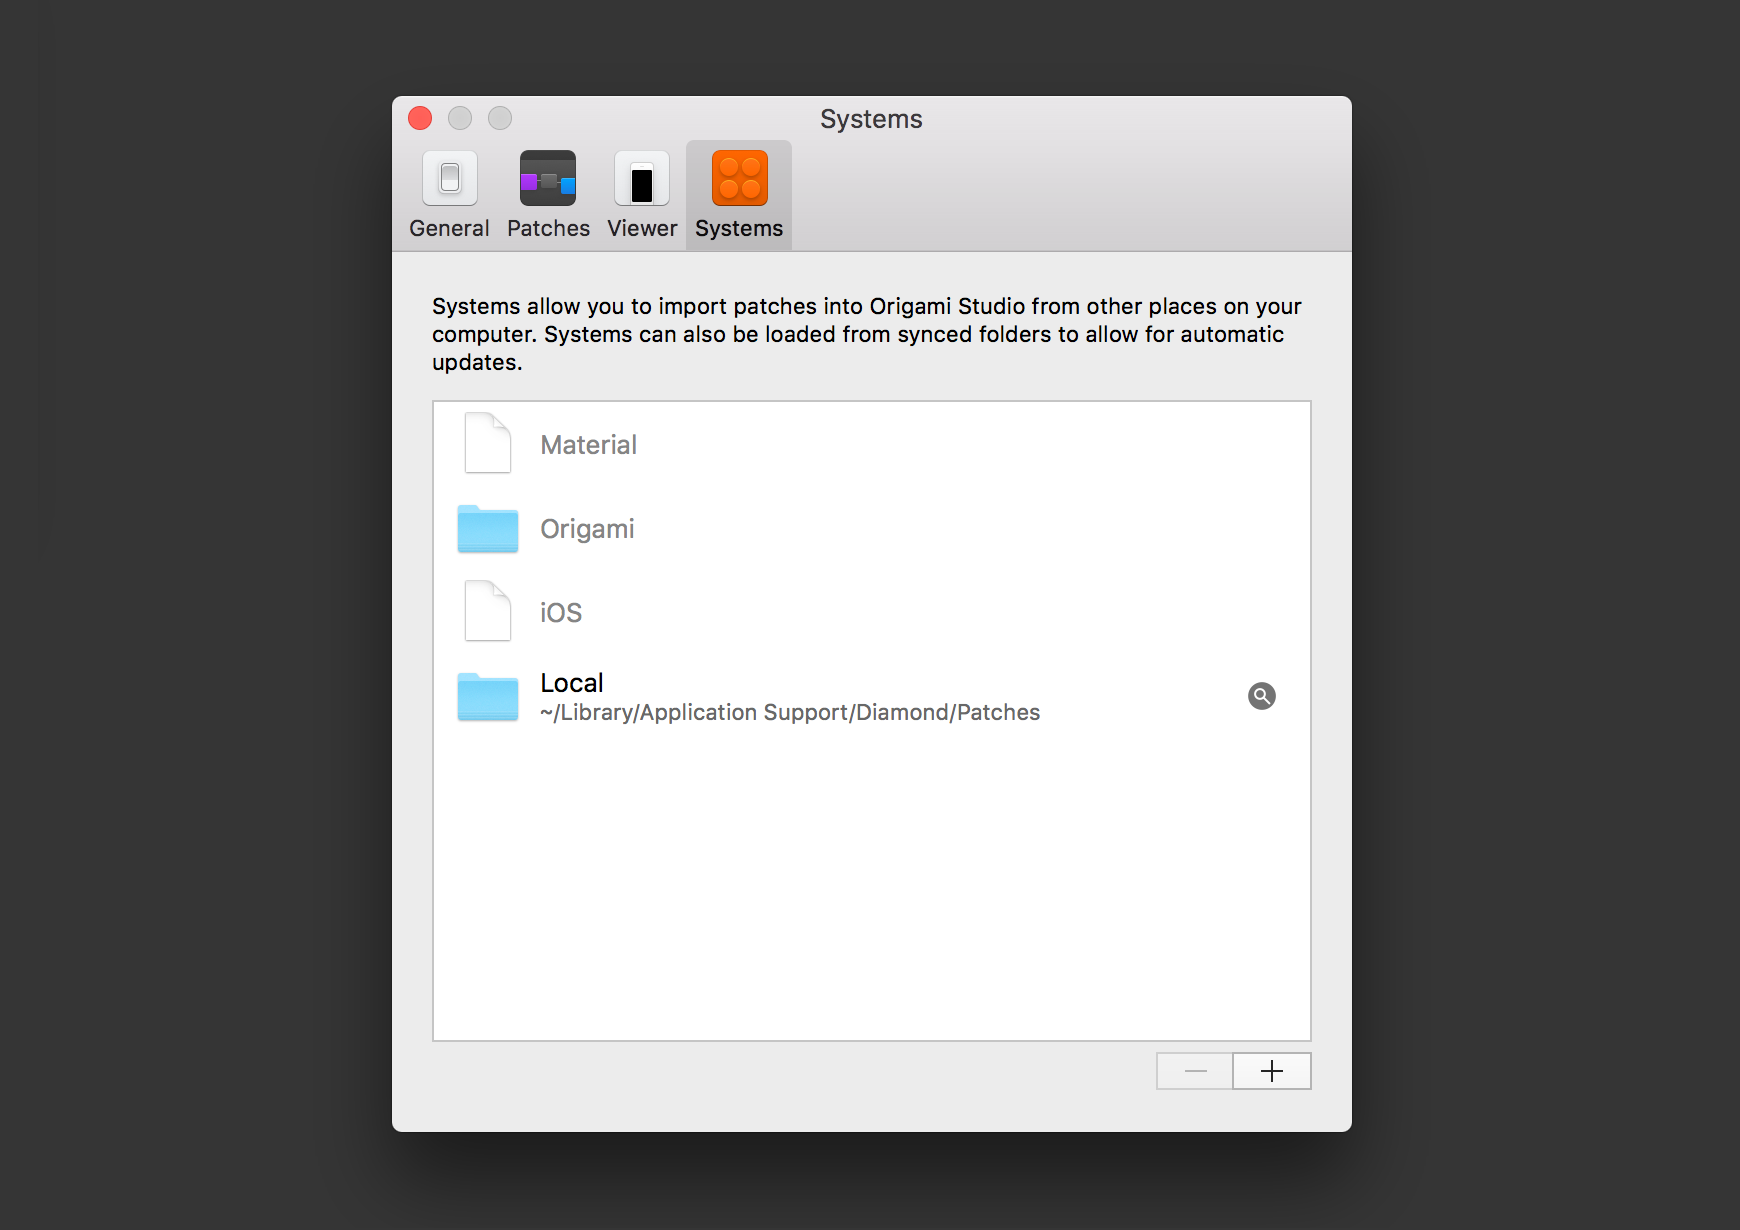
Sharing a Folder of Patches and Components
To make components accessible to other team members, create a shared Dropbox folder and add your components to it. To save a component in your document to a shared folder, use the Component > Add to Other Library.
Members of the team can add this folder to the list of loaded libraries using the + button in Systems tab in Origami Studio preferences.